
Ballerina pencil case with zipper Pattern


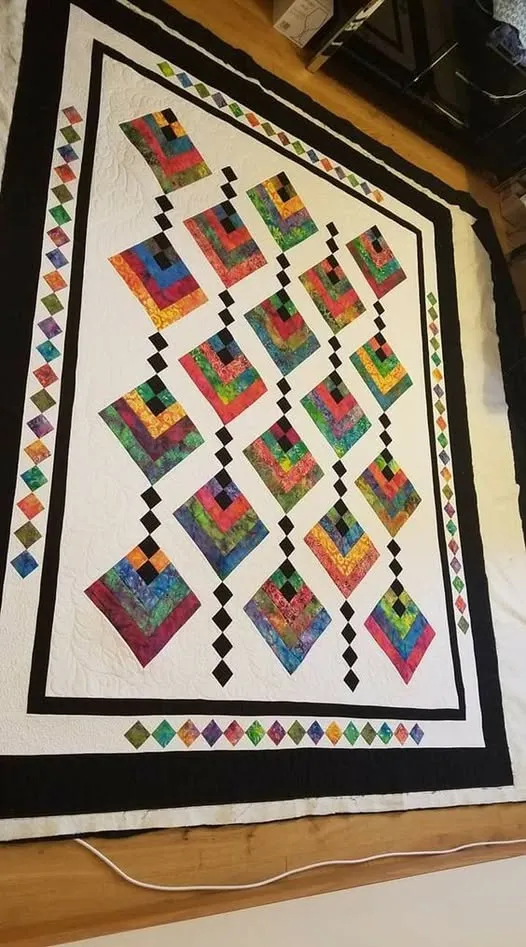
The Stars Over Scott – Quilt Tutorial is a beautiful and inspiring project that combines classic patchwork techniques with a modern twist.
If you’re someone who loves quilting and wants to create a timeless piece filled with personality, this pattern is perfect for you.
In this tutorial, we’ll explore how to make a quilt that shines like the night sky, guiding you step-by-step to achieve a professional-looking result, even if you’re not an expert quilter yet. The Stars Over Scott quilt celebrates symmetry, color balance, and precision, making it both fun and rewarding to craft.

When creating the Stars Over Scott quilt, you’ll be working with star blocks that feature contrasting fabrics, which create a bold and elegant design.
The project is great for using up fabric scraps or experimenting with color themes — from subtle pastels to deep, starry blues. What makes this tutorial special is that it allows you to personalize your quilt through fabric choices, layout variations, and creative finishing touches. Whether you’re quilting by hand or using a machine, this project can adapt to your preferred method.
This quilt tutorial is designed to help both beginners and experienced quilters produce a cohesive, visually stunning final piece. Throughout this guide, you’ll find helpful tips for cutting, assembling, and pressing, along with strategies for achieving crisp points and perfect seams. You’ll also discover how to arrange your stars for the most balanced look possible. So, gather your materials, prepare your sewing space, and let’s bring the Stars Over Scott quilt to life.
Before starting your Stars Over Scott quilt, the first and most important step is selecting the right fabrics. The beauty of this quilt lies in its contrast, so choose fabrics that will make the star patterns stand out. A mix of solid and patterned fabrics often works best. For instance, pairing a dark navy or midnight blue background with light cream or gold stars can give the illusion of stars twinkling in a night sky.
Next, prepare your fabric by washing and pressing it before cutting. This ensures that your pieces won’t shrink or warp later on. Take time to carefully iron each piece — a smooth surface helps you achieve precise measurements. Remember, accuracy is key when making a star quilt pattern. Even a small mistake in cutting can cause your points to misalign.
To create the perfect Stars Over Scott quilt, gather the following materials: high-quality cotton fabric, a rotary cutter, quilting ruler, cutting mat, sewing machine, thread, pins, and an iron. You’ll also need batting and backing fabric for finishing your quilt. Keep everything organized and labeled to make the sewing process smoother.
When choosing thread, select a color that blends well with your fabrics. Neutral tones like white, gray, or beige work well for piecing, while a contrasting thread can be used for quilting to highlight your stitching. The thread quality should be high enough to prevent breakage during sewing.
You can experiment with color themes depending on the mood you want for your quilt. For a celestial feel, use midnight blues and silvers. For a softer, country-inspired look, try warm yellows, creams, and greens. The Stars Over Scott pattern adapts beautifully to any palette you choose.
Finally, double-check your measurements and fabric cuts before you begin sewing. Label each piece to make assembly easier later on. This preparation step may seem time-consuming, but it will save you frustration as you work through the quilt tutorial.
The heart of the Stars Over Scott quilt lies in its striking star blocks. Each block is made up of multiple pieces that come together to form a radiant star shape. Start by laying out all your fabric pieces according to the pattern you’re following. Seeing how the colors interact before you start sewing helps ensure you’re happy with the overall balance.
To begin, sew together the half-square triangles (HSTs) that form the star’s points. Be sure to match your seams carefully and press each seam as you go. Pressing toward the darker fabric helps prevent shadowing on the front side of your quilt. Take your time during this step — precise alignment is what gives the Stars Over Scott quilt its clean and professional appearance.
Once your triangles are complete, assemble the center of the star. This section usually consists of four squares joined together in a simple four-patch layout. You can use a contrasting color for the center to make your star stand out more dramatically.
Continue by sewing the triangles and squares together in rows. After completing each row, press the seams and then join the rows to complete your block. Repeat this process until you have the number of star blocks needed for your quilt size. For a throw-sized quilt, you might make twelve to sixteen blocks, depending on your layout.
Don’t rush through the assembly. Check your points to make sure they align correctly, and trim any uneven edges before continuing. Small adjustments during this stage can make a big difference in the final look of your quilt.
Once all the blocks are complete, lay them out on a flat surface to decide on the best arrangement. This step allows you to balance the colors and patterns, ensuring the Stars Over Scott quilt has a cohesive and pleasing look.
With all your star blocks finished, it’s time to join them together. This step brings your Stars Over Scott quilt to life as the pattern begins to flow across the fabric. Start by sewing the blocks together in rows, making sure the seams match perfectly between blocks. Use pins or clips to keep everything aligned before sewing.
After sewing each row, press the seams to one side or alternate directions between rows. This helps your quilt top lay flat and makes it easier to quilt later. Precision is important here — even a small misalignment can throw off the symmetry of your stars.
Once all rows are complete, join them together to create the full quilt top. Take your time to ensure everything stays square. After your quilt top is assembled, measure it carefully before cutting and attaching the borders.
Borders help frame your quilt and add extra dimension. For the Stars Over Scott design, consider a narrow inner border in a neutral tone, followed by a wider outer border in a coordinating color. This layering effect gives your quilt a professional, polished finish.
Attach the borders using the same care you used for the blocks. Measure each border strip before sewing — avoid “stretching” the fabric to make it fit. Press all seams neatly once attached.
At this stage, your quilt top should be complete. You can now prepare for quilting and binding, which will transform your patchwork into a finished masterpiece.
The final stage of the Stars Over Scott – Quilt Tutorial involves quilting and binding your project. Begin by layering your quilt top with batting and backing fabric. Smooth out all wrinkles and baste the layers together using safety pins or basting spray.
Next, choose your quilting method. You can quilt by hand for a traditional touch or use a sewing machine for efficiency. If you’re machine quilting, consider using a walking foot to help the layers move evenly. Straight-line quilting or a simple star-themed pattern would complement the Stars Over Scott quilt beautifully.
Quilt from the center outward to prevent fabric shifting. Take breaks to check that everything stays flat and smooth. Once the quilting is complete, trim any excess batting and backing from the edges.
Now it’s time to bind your quilt. Cut binding strips, sew them together, and attach them to the quilt edges. Fold the binding over and hand-stitch it to the back for a clean, polished finish. Take care at the corners to achieve sharp, mitered edges.
After binding, give your quilt one final press to remove any wrinkles. This will also help set the stitches. Stand back and admire your work — your Stars Over Scott quilt is now complete and ready to display, gift, or snuggle under.
To preserve your quilt, wash it gently in cold water and dry it flat or on low heat. Quilts like this are made to last, and proper care will ensure it remains beautiful for years to come.
What size is the Stars Over Scott quilt?
The finished size can vary depending on how many blocks you make. A throw size typically uses around twelve to sixteen blocks, but you can easily adjust to make a baby quilt or a larger bed quilt.
Can I make the Stars Over Scott quilt as a beginner?
Yes! This pattern is beginner-friendly, especially if you take your time with cutting and pressing. The clear star shapes are a great way to practice precision sewing.
What type of fabric works best for this quilt?
High-quality cotton fabric is ideal. It’s durable, easy to work with, and holds its shape well. Avoid stretchy fabrics, as they can distort your star points.
How can I make my star points perfect?
Use accurate cutting, consistent seam allowances, and press carefully after each step. Pinning precisely at intersections helps align points neatly.
Is it necessary to prewash fabrics?
Yes, prewashing prevents shrinkage and color bleeding later on. Always press the fabric before cutting for the best results.
Can I quilt by hand instead of by machine?
Absolutely. Hand quilting adds a personal, traditional touch to your project. It may take longer, but the results are often worth it.
The Stars Over Scott – Quilt Tutorial offers a perfect blend of creativity, precision, and artistry. From choosing fabrics to quilting the final stitches, each step brings you closer to a beautiful, handmade masterpiece.
By following this guide, you’ve learned how to piece together star blocks, assemble your quilt top, and finish it with care and confidence.
Whether you gift it, display it, or keep it for yourself, your Stars Over Scott quilt will shine as a reflection of your effort and love for the craft.
If you enjoyed this tutorial, please share your honest opinion and leave your suggestions — your feedback helps inspire future quilting projects and guides for passionate makers like you.


