Crochet Pig In A Granny Square Blanket Pattern


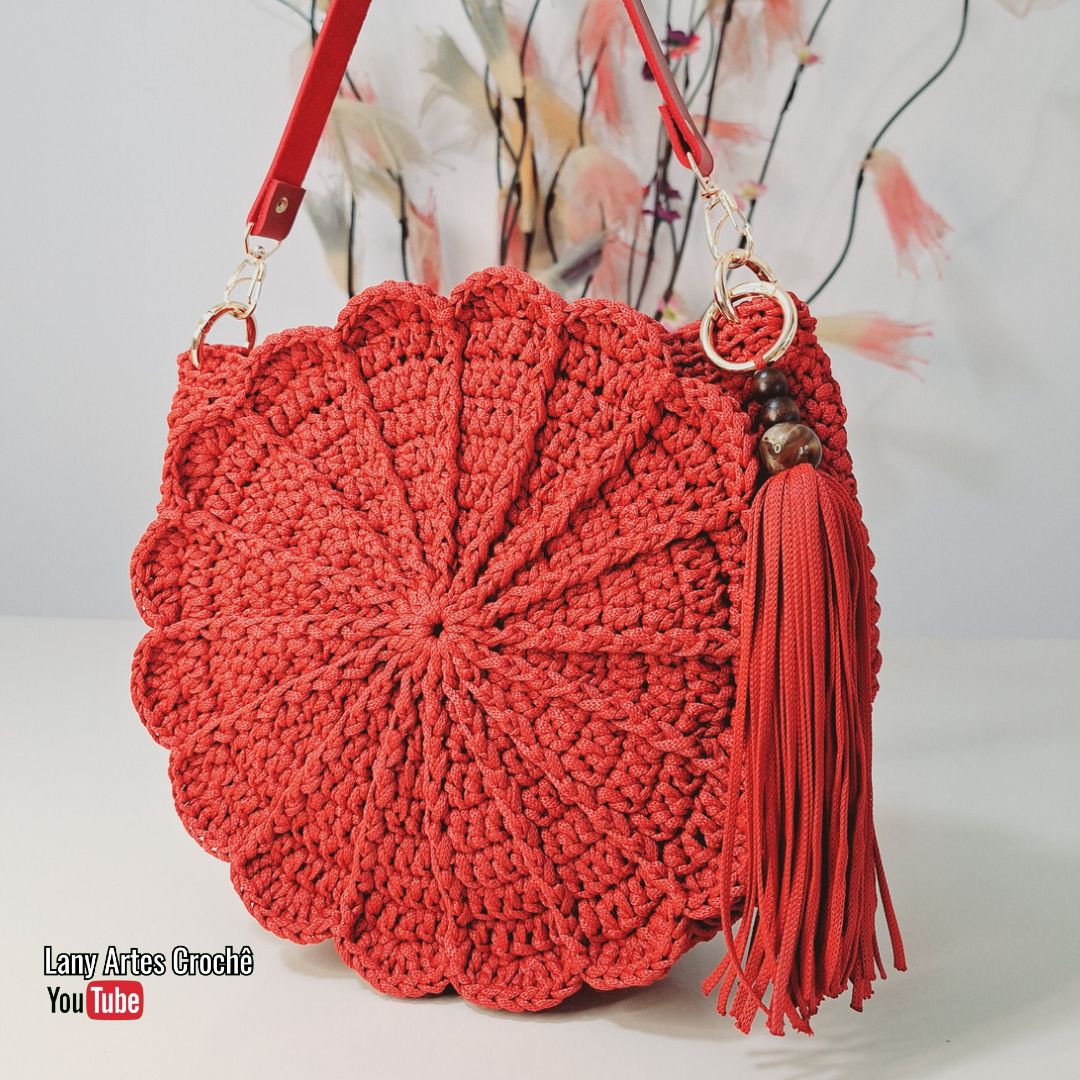
Creating a stylish handmade accessory is always satisfying, and this Crochet Flower Bag with Lining and Closure with Flaps in Nautical Yarn is an excellent project for crafters of all levels.
Combining floral motifs, functional lining, and secure flap closures, this bag is both fashionable and practical. The use of nautical yarn adds a classic, summery vibe, perfect for beach trips or casual outings.
By following this step-by-step guide, you will gain the confidence to crochet a durable and beautiful bag from start to finish.
This Crochet Flower Bag with Lining and Closure with Flaps in Nautical Yarn allows for endless customization. You can choose yarn colors, flower designs, and even lining fabrics that reflect your personal style.
Handmade bags are not just functional; they are an expression of creativity. Adding a flap closure ensures your belongings stay secure while giving the bag a polished look. Each stitch you crochet contributes to the overall structure and charm of the finished piece.
Whether you are an experienced crocheter or a beginner ready for a fun challenge, this Crochet Flower Bag with Lining and Closure with Flaps in Nautical Yarn tutorial provides detailed instructions for every step. From creating flower motifs to assembling the bag and adding the lining, every stage is covered. By the end of this tutorial, you’ll have a finished bag that is not only beautiful but also functional and ready to impress.
To complete the Crochet Flower Bag with Lining and Closure with Flaps in Nautical Yarn, you will need specific materials that ensure durability and ease of work. Start with high-quality nautical yarn, which is thick enough to provide structure but soft enough to crochet comfortably.
A crochet hook that matches your yarn weight is essential for consistent stitches. Using the right hook size ensures that the bag holds its shape and looks professional.
You will also need a yarn needle to weave in ends and sew pieces together securely. Blunt-ended needles are preferable to avoid splitting the yarn fibers.
Scissors are needed for trimming yarn ends and cutting lining fabric to size. Having sharp, precise scissors makes the finishing steps easier and cleaner.
Choose a lining fabric that complements your yarn colors. Cotton or canvas is ideal for durability and support. Pre-wash the fabric to prevent shrinkage and color bleeding.
Optional embellishments, such as buttons or decorative clasps, enhance the flap closure and add personality to your Crochet Flower Bag with Lining and Closure with Flaps in Nautical Yarn.
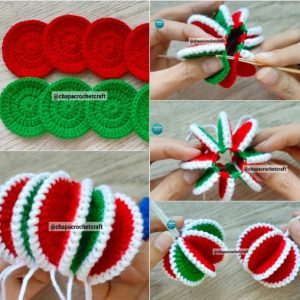
The beauty of this bag lies in its floral motifs. Begin by creating the center of each flower using a magic ring or chain and join to form a circle. Work several rounds of double crochet to build each petal.
For a layered effect, alternate colors or use the same yarn with a subtle color shift. This adds dimension and visual interest to your Crochet Flower Bag with Lining and Closure with Flaps in Nautical Yarn.
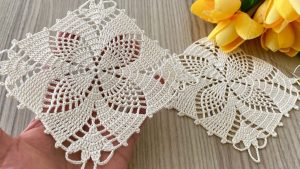
Ensure that each flower motif has the same number of rounds and stitches to maintain uniformity when assembling the bag. Inconsistent motifs can distort the shape and structure.
After finishing each motif, fasten off the yarn and weave in all loose ends. Organizing your motifs before assembly will help streamline the next steps.
Experiment with flower placement before sewing them together. A balanced layout enhances the overall design and ensures that no single motif dominates the bag’s appearance.
Blocking the flowers lightly by pinning them in place and steaming ensures that all petals are even and neat, making the bag’s construction smoother.
Once your flower motifs are ready, it’s time to assemble the Crochet Flower Bag with Lining and Closure with Flaps in Nautical Yarn. Start by arranging the motifs in your preferred layout.
Use whip stitches or slip stitches to join motifs, ensuring edges align neatly. Secure seams maintain the bag’s shape and durability.
After joining the flowers, crochet additional rounds around the edge to form the bag’s base and sides. This creates a unified body and reinforces the structure.
If needed, adjust the number of rounds to achieve the desired bag height and width. Testing the bag’s size against a standard item like a notebook helps ensure functionality.
Crochet the flap separately or integrate it into the top rounds of the bag body. Ensure it is large enough to cover the opening completely for a secure closure.
Double-check all joins and edges before adding the lining. Tight, even stitches prevent gaps and maintain a professional finish.
Adding a lining is a crucial step in this Crochet Flower Bag with Lining and Closure with Flaps in Nautical Yarn. Cut your fabric to fit the interior, leaving some extra for seams.
Sew the lining to the bag carefully, either by hand or with a sewing machine. Ensure it sits flat inside and doesn’t bunch up. A well-fitted lining enhances durability and provides a neat interior.
Next, attach the flap closure. You can sew buttons, magnetic snaps, or hooks depending on your preference. A secure closure ensures items inside remain safe.
Reinforce any areas of stress, like corners and flap attachment points. Crocheted bags can stretch over time, so extra strength in these areas prolongs their life.
Tidy up all loose threads by weaving them into the seams. Clean finishing gives the bag a polished, store-bought look.
Finally, give the bag a gentle block and steam to relax fibers and set the shape. Your Crochet Flower Bag with Lining and Closure with Flaps in Nautical Yarn is now ready to use or gift.
One of the advantages of this Crochet Flower Bag with Lining and Closure with Flaps in Nautical Yarn is the flexibility to customize. Play with colors, yarn textures, and motif arrangements for a unique design.
Adding decorative elements like beads, tassels, or ribbons can elevate the bag’s style. Make it playful or elegant depending on your aesthetic.
Adjust the size of flower motifs to create different visual effects. Larger flowers create a bold statement, while smaller flowers add subtle charm.
You can also change the lining fabric to match outfits, seasons, or occasions. A patterned lining can add a surprise element each time the bag is opened.
For extra functionality, include internal pockets in the lining for organizing items like keys or a phone. Pockets make the bag practical without compromising style.
Experiment with strap lengths and attachment styles. Shoulder straps, crossbody, or handles change the bag’s versatility while maintaining the floral charm.
1. What type of yarn is best for this bag?
Nautical yarn or medium-weight cotton blends work best for structure and comfort.
2. Can beginners make this bag?
Yes, the Crochet Flower Bag with Lining and Closure with Flaps in Nautical Yarn tutorial is detailed and suitable for beginners with basic crochet skills.
3. How do I prevent the bag from stretching?
Use tighter stitches for the base and reinforcement rounds, and add lining to maintain shape.
4. Can I customize the flower motifs?
Absolutely. You can change colors, sizes, and the number of petals for a unique design.
5. What type of closure works best?
Buttons, magnetic snaps, or hooks all work. Choose based on your preference for security and style.
6. Can I machine wash this bag?
Check the yarn label. Most cotton or acrylic blends can be hand washed or machine washed on gentle cycle, then reshaped while damp.
7. How do I make the bag bigger or smaller?
Increase or decrease the number of flower motifs and rounds in the base and sides to adjust the size.
Creating the Crochet Flower Bag with Lining and Closure with Flaps in Nautical Yarn is a fulfilling project that combines creativity and functionality.
You’ve learned how to crochet flower motifs, assemble the bag body, add lining, and secure the flap closure. This bag is not only beautiful and practical but also reflects your personal style.
Handmade items like this are rewarding and make perfect gifts. Share your experiences, suggestions, and feedback on this tutorial, and inspire others to create their own charming crochet bags.


