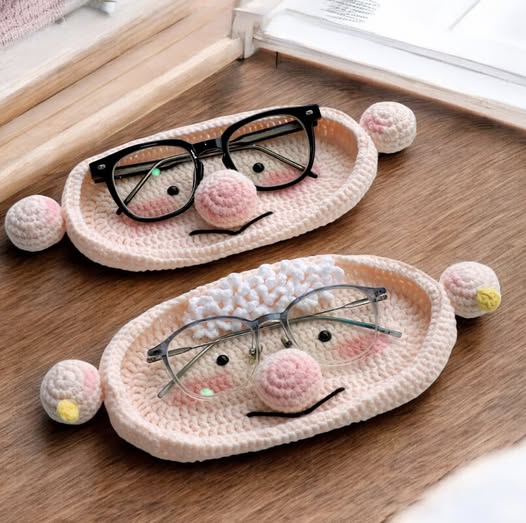
Grandparents Eyeglasses Holder Crochet Pattern


A Quick Crochet Edging that is a HIT with EVERYONE who Sees it – Very Easy is one of those crochet techniques that every crafter should know. It’s the perfect finishing touch for blankets, towels, scarves, and even clothing.
This simple yet elegant edging adds personality and refinement to any handmade piece. The best part is that it’s incredibly easy to learn — even for beginners! With just a few basic stitches, you can create a border that looks professional, neat, and absolutely stunning.
If you love projects that give instant results, this quick crochet edging is ideal. It takes very little time to make, but the effect is beautiful and eye-catching.
You can use different yarn colors or textures to match your main project, making it versatile for any style. Whether you’re decorating a baby blanket or giving new life to an old towel, this edging will make your work stand out in the best possible way.
In this A Quick Crochet Edging that is a HIT with EVERYONE who Sees it – Very Easy tutorial, you’ll learn everything you need to create this beautiful border step by step. We’ll explore what materials to use, how to prepare your base, and the exact stitches that make this edging so popular. It’s a project that brings satisfaction instantly and will surely impress anyone who sees your work.
Before you begin, make sure you have all your materials ready. The beauty of A Quick Crochet Edging that is a HIT with EVERYONE who Sees it – Very Easy is that it requires only a few simple supplies. You won’t need special yarns or tools — just what you probably already have in your crochet kit.
First, choose a yarn that matches your main project. If you’re edging a blanket, cotton or acrylic yarn works best because it provides structure and durability. For delicate fabrics like handkerchiefs or doilies, lightweight cotton thread is ideal. Try to pick a color that complements your project’s tones for a clean and cohesive look.
Next, select the appropriate crochet hook for your yarn. The hook size will determine the tightness and look of your edging. Generally, a 2.5mm to 4mm hook is suitable for most projects, but always check your yarn label for recommendations. A smaller hook creates tighter stitches, while a larger hook makes a looser, more flexible edge.
Other materials include a pair of scissors for trimming ends and a tapestry needle for weaving in yarn tails. If your project is fabric-based, you may also need a fine sewing needle and thread to create a foundation row of blanket stitches before crocheting your edge. Once you have everything ready, it’s time to start crafting your elegant border!
Creating A Quick Crochet Edging that is a HIT with EVERYONE who Sees it – Very Easy starts with preparing the base and choosing the right stitch pattern. This edging uses simple techniques, but the result looks impressively detailed. Follow these steps carefully to ensure your border looks neat and even.
Step 1: Prepare the Base.
If you’re adding the edging to fabric, begin by making small blanket stitches along the edge with a sewing needle and thread. These will serve as spaces for your crochet hook. For crochet or knitted pieces, simply work directly into the outermost stitches.
Step 2: Start with a Foundation Row.
Attach your yarn and crochet a single row of single crochet (sc) stitches evenly around your project. This base row gives structure and makes the next steps easier. Make sure your stitches are even and not too tight.
Step 3: Create the Edging Pattern.
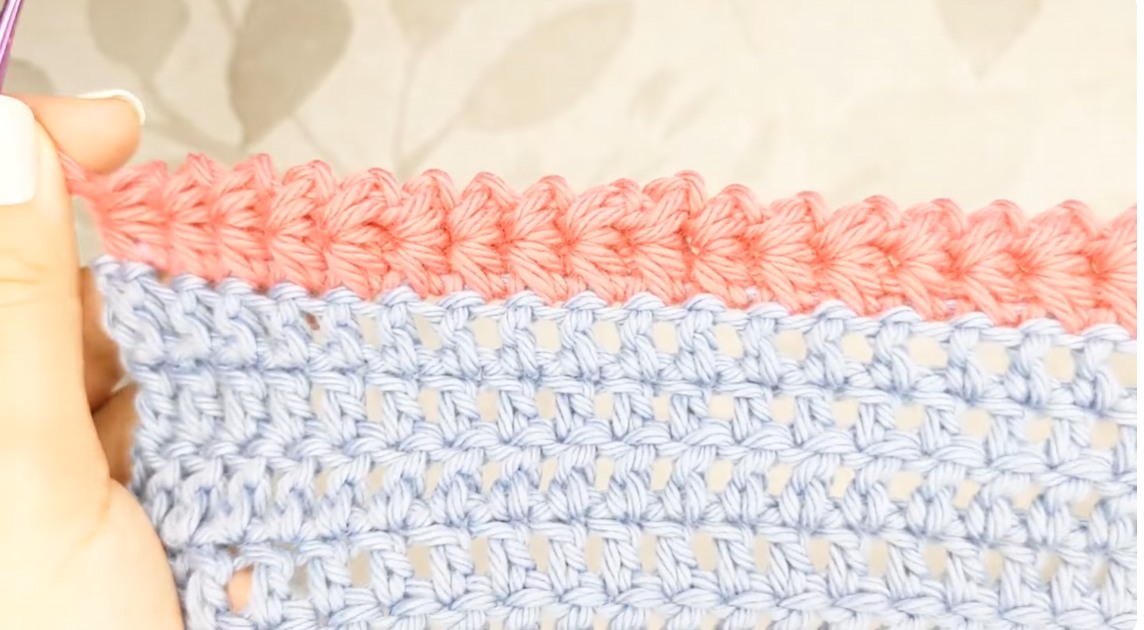
Once your foundation row is complete, you can begin the main design. A simple yet beautiful pattern is: skip one stitch, make five double crochets (dc) into the next stitch, skip one, and slip stitch (sl st) into the next. Repeat this sequence along the edge. It forms small shells that look elegant and decorative.
Step 4: Turn the Corners Smoothly.
When you reach a corner, add a few extra stitches (usually 3–5) to make the curve smooth. This prevents your edging from curling or pulling too tightly. Continue the same shell pattern around the next sides.
Step 5: Finish and Secure the Yarn.
Once you’ve crocheted all around, finish with a slip stitch into the starting point. Cut the yarn, leaving a small tail, and weave it in securely with a tapestry needle.
Step 6: Optional Touches.
You can block your work by lightly spraying it with water and pinning it flat to dry. This helps the shells hold their shape and gives your edging a polished look.
The fun part about A Quick Crochet Edging that is a HIT with EVERYONE who Sees it – Very Easy is how easily you can adapt it. Once you’ve mastered the basic shell pattern, try experimenting with variations to match different projects.
You can add picots at the tips of each shell to give your edging a lacy appearance. To do this, simply chain three after every few double crochets, then slip stitch into the first chain to form a tiny loop. It adds texture and elegance, especially on blankets or shawls.
Another idea is to work in two colors for a layered effect. Crochet the first foundation row in one shade, and the shell pattern in a contrasting color. This dual-tone look makes your project pop with personality.
For baby projects or soft home décor, use pastel colors and lightweight yarns. For bold table runners or throw blankets, brighter colors and thicker yarns create a statement piece.
You can also use metallic or glitter yarns to add shimmer to holiday decorations or festive items. The versatility of this edging allows you to bring out your creativity while keeping the technique simple.
Finally, consider mixing stitch types—combine single crochet, chain spaces, and shells in unique ways. This gives your edging a one-of-a-kind touch while keeping it beginner-friendly.
Even though A Quick Crochet Edging that is a HIT with EVERYONE who Sees it – Very Easy is simple, small details can make a big difference in the final look. Here are a few tips to help you achieve a flawless finish.
Always keep your tension even throughout the project. Uneven stitches can make your border look wavy or too tight. Practice on a small piece before working on the final item.
Count your stitches carefully along each side, especially if you’re working around corners. Having the right number of stitches ensures the pattern stays consistent.
When joining new yarn, weave the ends neatly into the stitches to avoid visible knots.
If you’re using multicolored yarn, plan the color changes so that the pattern looks balanced. Variegated yarns can create stunning gradient effects on simple edgings.
Lastly, take your time to block your finished edging. This step is often overlooked but gives your crochet a professional look. It defines the shells, smooths the fabric, and makes the design pop beautifully.
1. Can beginners make this edging easily?
Yes! A Quick Crochet Edging that is a HIT with EVERYONE who Sees it – Very Easy is perfect for beginners. It uses only basic stitches like single crochet, double crochet, and slip stitch.
2. What’s the best yarn for crochet edgings?
Cotton yarn is the most popular because it gives a crisp finish and holds its shape well. Acrylic yarn also works great for blankets or decorative items.
3. How long does it take to finish this edging?
It depends on the size of your project. A small towel edge might take less than an hour, while a large blanket may take a few hours.
4. Can I use this edging on fabric items?
Absolutely! You can easily add it to fabric by sewing a foundation row first and then crocheting into it.
5. Does this edging stretch?
Yes, slightly. The shell pattern has natural flexibility, which helps it adapt to different fabric edges without puckering.
6. Can I make this edging wider?
Of course! You can add more rows or increase the number of stitches in each shell to create a wider, more dramatic border.
We’ve reached the end of our A Quick Crochet Edging that is a HIT with EVERYONE who Sees it – Very Easy tutorial! Now you know how to add a simple yet elegant finishing touch to any crochet or fabric project. This edging is quick, versatile, and looks beautiful on everything from blankets to towels and home décor pieces.
Remember, practice makes perfect — the more you crochet, the more consistent your stitches will become. Try different yarns and colors to personalize your work and make it truly your own.

