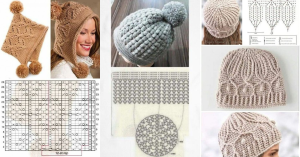
Crochet Pig In A Granny Square Blanket Pattern


A crochet knitted pocket is a charming and practical addition to many handmade projects. Whether you want to add a cute pocket to a cardigan, a tote bag, a scarf, or even a blanket, creating a small pocket using crochet or knitting techniques brings both beauty and function.
Learning how to make a crochet knitted pocket is simple once you understand the basics. You can design them in any size, color, or texture, depending on your project and personal style. They can be sewn directly onto garments or crocheted seamlessly into the piece as you work.
If you’re looking for an easy and fun way to personalize your creations, making a crochet knitted pocket is a wonderful place to start. Let’s explore how to create one from start to finish, with clear tips, design ideas, and techniques that even beginners can follow.
A crochet knitted pocket is a small pouch or compartment made using crochet or knitting stitches. It can be worked separately and then attached to another item, or crocheted directly into the main piece during construction. The goal is to create a decorative yet functional pocket that complements the overall design.
These pockets come in many forms: flat pockets that are simple rectangular or square designs perfect for sweaters or cardigans; patch pockets that are crocheted separately and sewn onto bags or garments; inset pockets that are built into the project and often hidden or partially embedded in the fabric; and decorative pockets shaped like hearts, flowers, or animals for a whimsical touch.
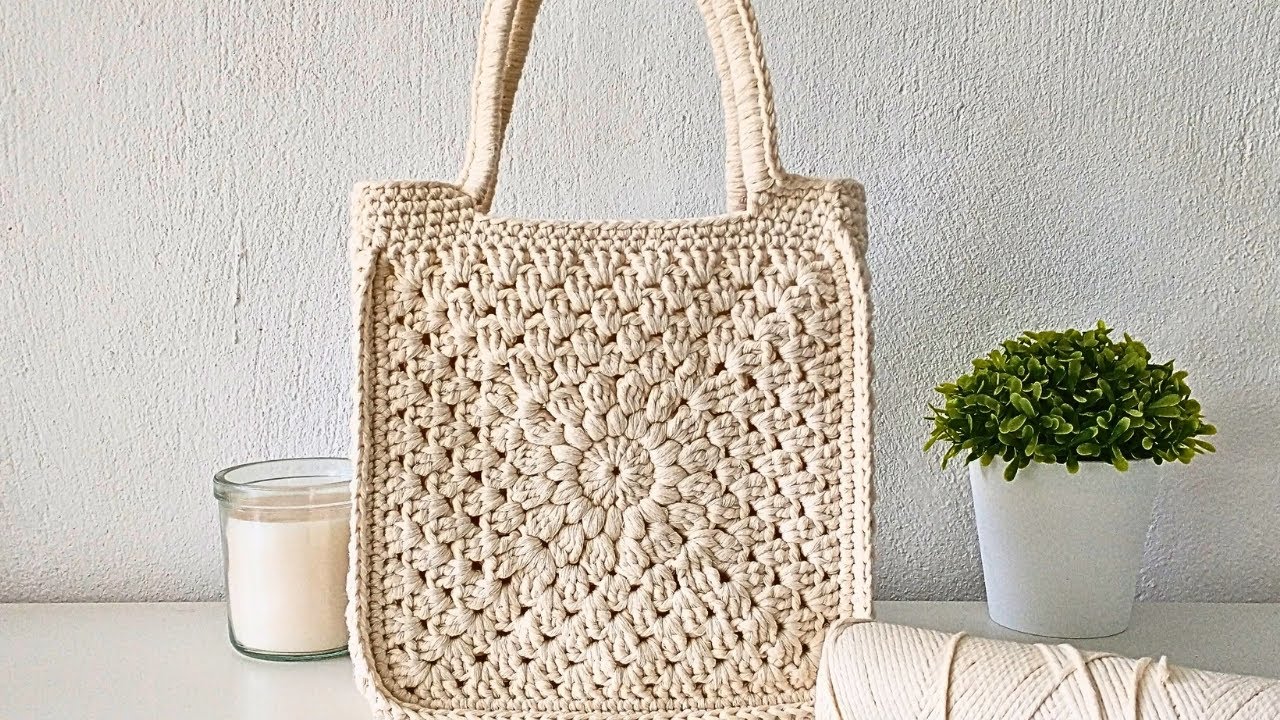
The great thing about a crochet knitted pocket is that you can customize it completely. You control the size, texture, and color palette, ensuring that your pocket fits perfectly into your design idea. For example, a cozy knitted cardigan can have a soft pocket made from the same yarn for warmth, while a colorful tote bag might feature bright crocheted pockets as accents.
Before starting your crochet knitted pocket, gather all the materials you’ll need. You likely already have many of these in your crafting kit. Choose a yarn that matches your project in color, texture, and thickness. For garments, use soft, comfortable yarns like cotton, bamboo, or acrylic blends. For accessories like bags, opt for stronger fibers that hold their shape well, such as wool or sturdy cotton.
Use a crochet hook or knitting needles that fit your yarn’s recommended size. The pocket should have a firm fabric to prevent stretching, so you may want to use a slightly smaller hook or needle than you normally would. You’ll also need scissors and a yarn needle for cutting yarn and weaving in the ends neatly. Stitch markers can help mark corners or stitches, especially useful if you’re creating symmetrical pockets. And don’t forget a measuring tape to ensure your crochet knitted pocket is the right size for the project you’re adding it to.
Once your materials are ready, you can move on to creating your pocket step by step.
Creating a crochet knitted pocket is a straightforward process. Here’s a simple, beginner-friendly method to make a flat, rectangular pocket. Start with a foundation chain. Decide how wide you want your pocket to be. Chain enough stitches to match that width. For example, 20 chains may create a small pocket, while 30 to 40 will make a medium one.
Work in rows using single crochet or half double crochet stitches across the chain. These tight stitches create a dense fabric that holds shape well. Turn your work at the end of each row and continue until the pocket reaches your desired height. Once the pocket is large enough, crochet one final row around the entire border to neaten the edges. This adds durability and gives the pocket a clean look.
If desired, you can add decorative elements such as ribbed edging using front post and back post stitches, color changes for a striped pocket, or embroidery and appliqué for added flair. Then, use a yarn needle to sew your pocket onto your garment or project. Match the yarn color to your base fabric for a seamless look and sew along three sides, leaving the top open. Press lightly with steam (if your yarn type allows) to help the pocket lay flat and look professional.
That’s it! You now have a crochet knitted pocket that looks lovely and functions perfectly.
There are countless creative ways to style your crochet knitted pocket. You can create textured pockets using bobble, puff, or cable stitches to make them stand out. Try color-block pockets by combining two or three colors for a trendy and modern look—this works beautifully on tote bags or scarves. Add a flap and a button for a secure, practical pocket that’s perfect for sweaters or baby clothes.
You can also experiment with shaped pockets such as hearts, flowers, or animals for kids’ items, which add personality and charm. For those who want something more advanced, try creating layered pockets with double layers for extra storage or warmth. Or, integrate your pocket directly into your project while crocheting—this seamless method gives a polished, professional finish.
No matter the design, each crochet knitted pocket adds a unique handmade touch that makes your projects more practical and beautiful.
Here are a few expert tips to make your crochet knitted pocket look neat and last long. Keep your stitches tight to prevent sagging. Reinforce the corners with an extra stitch or two for strength. Use matching yarn for invisible seams and block the pocket before attaching it to help it hold shape. Always double-check placement by pinning the pocket before sewing to ensure it’s even and centered.
If you want more durability, especially for bags or items that hold objects, consider adding a small fabric lining inside your pocket. This makes it sturdier and prevents stretching. These small details can make your crochet knitted pocket look more polished and professional.
What’s the difference between crochet and knitted pockets? Crochet uses a single hook and thicker stitches, making it faster and sturdier. Knitted pockets, made with two needles, are generally softer and stretchier.
Can beginners make crochet knitted pockets? Absolutely! Most pockets use basic stitches like single crochet or garter stitch, perfect for beginners.
How do I attach a pocket neatly? Use a yarn needle and small, even stitches. Sew only through the back loops of the pocket edge for a smooth, clean finish.
Can I add a pocket to an existing item? Yes! You can crochet a separate pocket and sew it onto any finished item like a sweater, bag, or blanket.
What yarn is best for a crochet knitted pocket? Use medium-weight cotton or acrylic yarn for structure. For soft garments, baby yarn or blends work well.
Can I make a pocket without sewing? Yes, some patterns allow you to crochet the pocket directly onto your project by picking up stitches along the edge.
Making a crochet knitted pocket is an easy and creative way to enhance your handmade pieces. Whether you’re adding a cozy detail to a sweater, a colorful accent to a tote bag, or a cute design to a baby blanket, the possibilities are endless.
This small, simple project allows you to experiment with color, texture, and design while improving your crochet or knitting skills. Plus, it’s quick and satisfying—perfect for beginners or experienced crafters looking for a fun, useful addition to their work.
So, grab your yarn and hook, and try making a crochet knitted pocket today. It’s a perfect blend of beauty, functionality, and handmade charm—and once you start, you’ll want to add pockets to everything you create! Please share your honest opinion and suggestions about this article, and let’s keep inspiring more handmade creations together.


