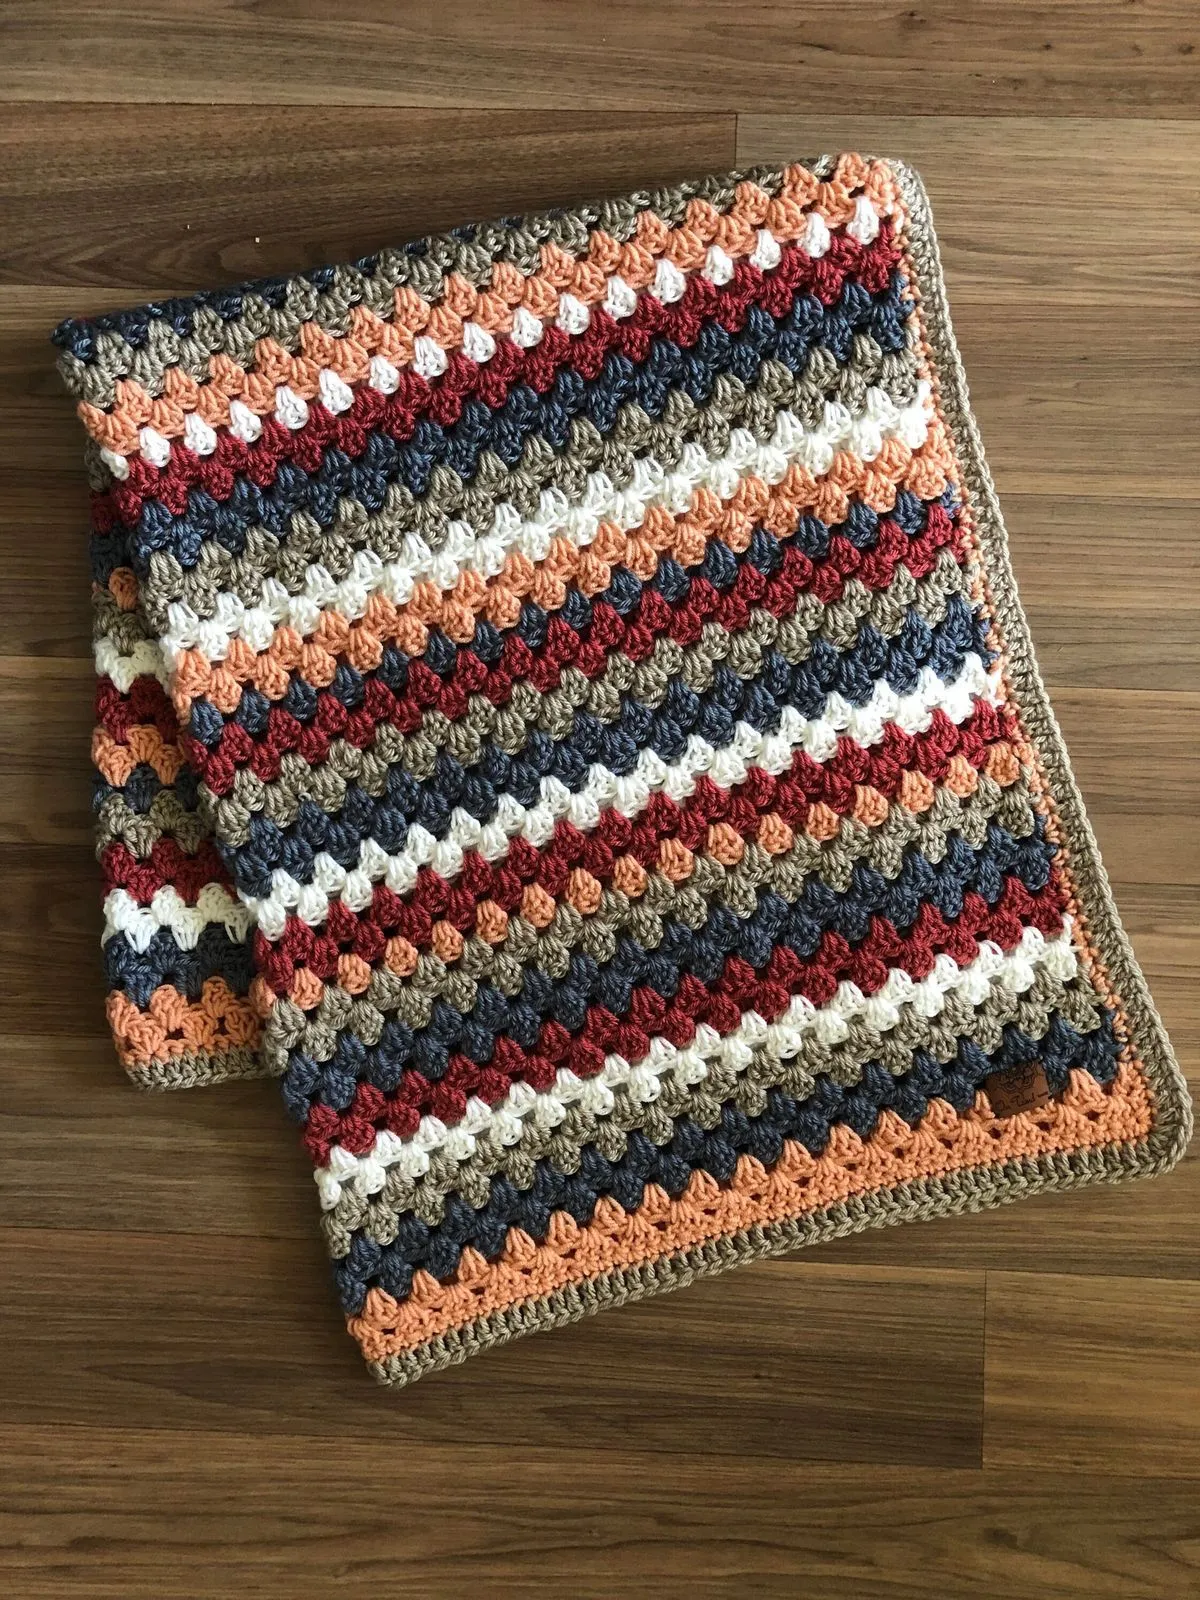
Crochet Pig In A Granny Square Blanket Pattern


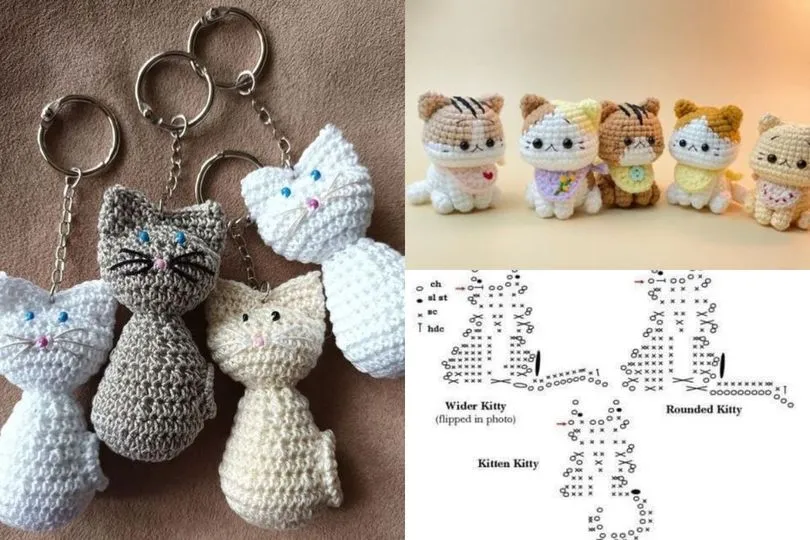
The CROCHET TURTLE!! Switch out his shells – Step by step guide below shows you how to make an adorable amigurumi turtle with interchangeable shells, so you can swap looks anytime — cozy granny-shell one day, spooky Halloween shell the next.
This pattern is written for hobbyists of all skill levels, includes clear materials lists, a full step-by-step pattern for the body and multiple shell options, and practical assembly tips so your crochet turtle is sturdy, safe, and delightfully customizable.
Making a turtle with switchable shells is a fun way to practice common amigurumi techniques (working in the round, increasing/decreasing, sewing parts) while learning simple attachment systems (buttons, snaps, loops, or hidden velcro).
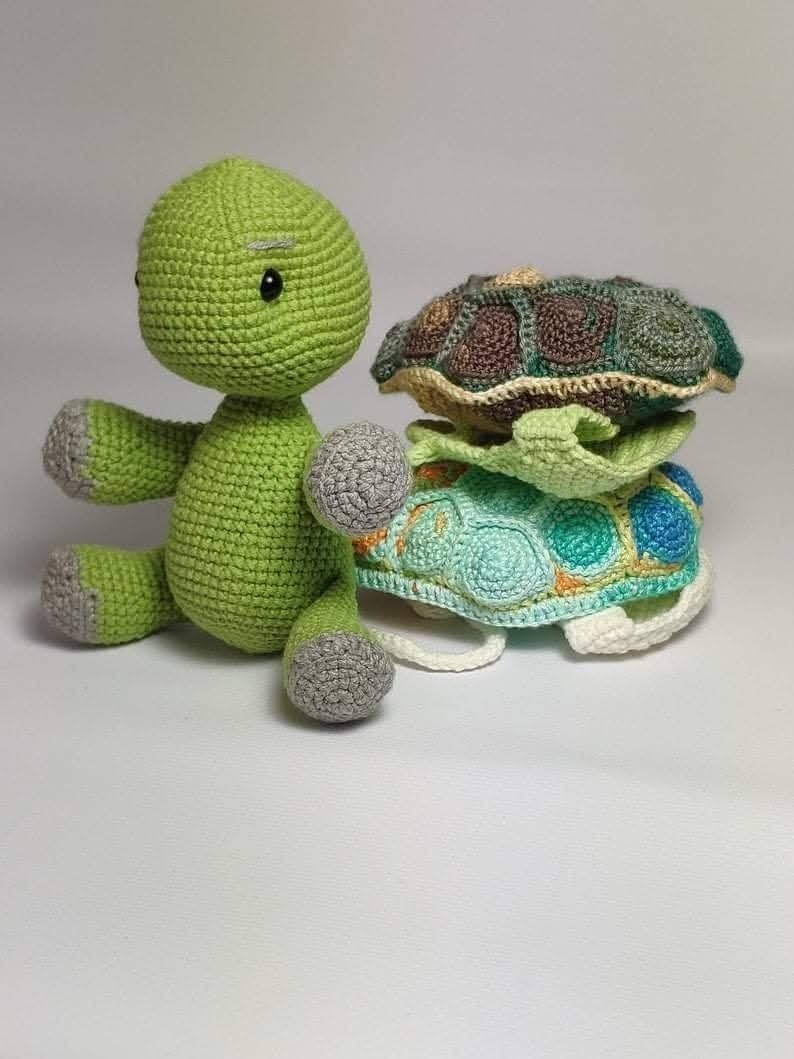
The body is made once; the magic is in the shells — design a knitted-looking hexagon patch shell, a puff-stitch 3D shell, or a flat applique shell that fastens on and off.
Below you’ll find full instructions for a standard cuddly turtle base plus three interchangeable shell styles, finishing tips, and ideas for personalization and gifting.
To crochet the project outlined in CROCHET TURTLE!! Switch out his shells – Step by step, gather the following:
Gauge is flexible for amigurumi, but aim for firm stitches so stuffing doesn’t peek through. If you want a larger turtle, use thicker yarn and a bigger hook; for a tiny keychain, go thinner and smaller.
This is a single-piece head-to-body construction with separate legs, tail, and underside. Keep a stitch marker and work in continuous rounds unless stated.
Head (work in main color)
Body (continue)
15. inc around (12)
16. (sc, inc) x6 (18)
17. (2 sc, inc) x6 (24)
18–25. sc around (24) — build the dome under the shell
26. (2 sc, dec) x6 (18)
27. (sc, dec) x6 (12) — stuff firmly as you go
28. dec around (6). Fasten off and weave in end, or leave for joining base if attaching an underbelly piece.
Legs (make 4)
Tail
Underbelly / plastron (optional, worked flat)
Ch 6, turn. Row 1: sc across; continue to build a slightly oval/rounded panel to sew under the body for a cleaner finish. Attach with whip stitch.
Finish: embroider nostrils and a small smile if desired. Now the blank canvas is ready for switchable shells.
This is a decorative, slightly domed granny-style shell that snaps on/off.
This shell is lightweight, quick, and great for color-play.
This creates a textured, sculptural shell with puff/bobble stitches.
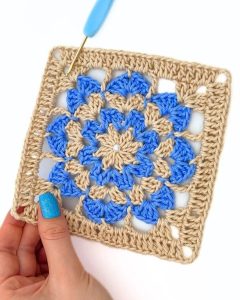
Create 7 hexagons (1 center + 6 surrounding) or a mosaic of granny hexes, then sew together as a dome.
Hexagon (make 7)
Assemble hexes with mattress stitch, sew a fabric backing if needed. For interchangeability, sew small sew-in press studs or magnetic snap discs hidden under a fabric patch — ensure magnets are sewn with fabric and not exposed if the toy goes to a child.
Choose the method based on who the turtle is for: baby-safe? go embroidered/Velcro/stitched-on removable fabric tab. For adult collectors, magnets and buttons are elegantly functional.
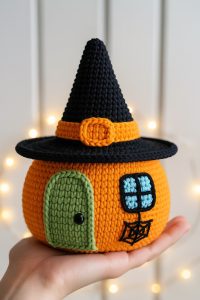
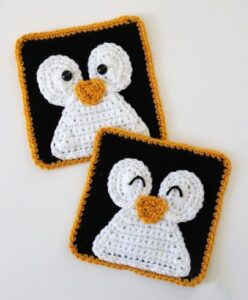
Make a set: “dress-up turtle” with shells for seasons — floral spring shell (granny flower), patriotic shell (red/white/blue hex patch), spooky shell (black with orange bat appliqué), and cozy winter shell (fuzzy yarn, pompom trim). Use shells to teach colors and sorting to kids, or make a storytelling prop where each shell triggers a different adventure.
Q: Is this pattern suitable for beginners?
A: Yes. The CROCHET TURTLE!! Switch out his shells – Step by step base is beginner-friendly; interchangeable shells introduce additional techniques but can be simplified.
Q: What yarn should I use?
A: Cotton or cotton-blend worsted weight is ideal for shape and washability; acrylic gives extra softness.
Q: Are the shells safe for babies?
A: Make shells baby-safe by avoiding small detachable parts (no small buttons/beads). Use embroidered decorations and Velcro or stitched-on shells.
Q: How durable are the attachments?
A: With careful sewing and reinforced stitching, buttons, snaps, and Velcro hold well. Test thoroughly if used by kids.
Q: Can I sell turtles made from this pattern?
A: Yes, you can sell your handmade items. If the pattern is public domain or your own, you’re fine. If adapting someone else’s proprietary pattern, respect the designer’s terms.
Q: How do I wash the turtle?
A: Hand wash gently or put in a laundry bag and machine wash on gentle cycle; remove shells and fastenings first. Air dry flattened.
The CROCHET TURTLE!! Switch out his shells – Step by step pattern gives you a lovable amigurumi base plus the freedom to design and interchange shells for endless creativity.
This project is practical (a single base, many looks), educational (practice many stitches), and rewarding — perfect for gifting, selling, or keeping as a whimsical collectible.
Start with the basic turtle body, experiment with the three shell styles, pick an attachment method that suits your audience, and most importantly, have fun switching out shells to match moods, seasons, and occasions.
Share your versions, honest feedback, and creative shell ideas — they’ll inspire other makers and help this playful pattern evolve. Happy crocheting! 🐢✨


