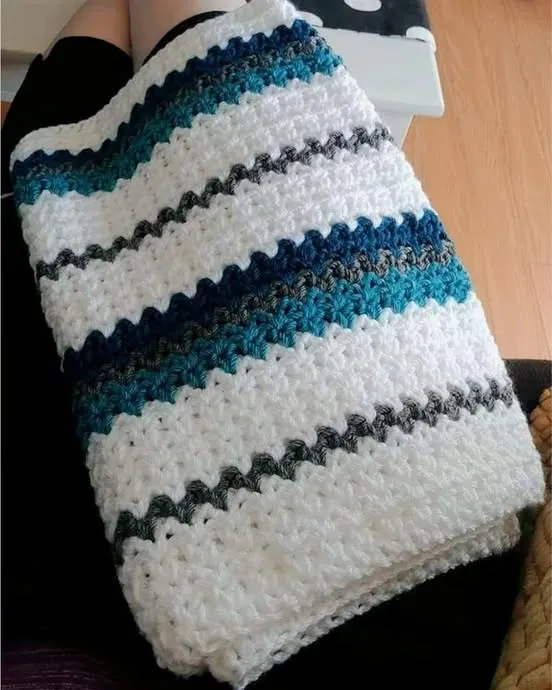
Crochet Pig In A Granny Square Blanket Pattern


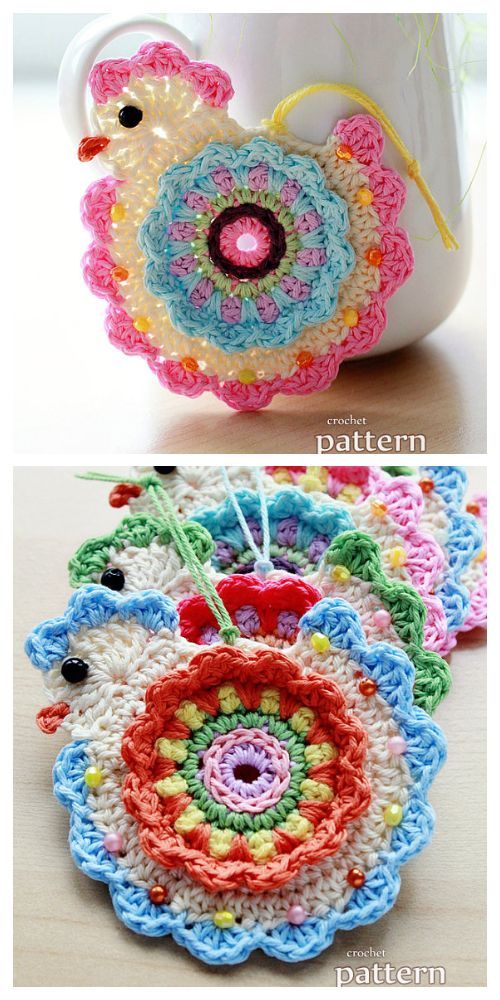
The Happy Easter Chick Ornament Crochet Pattern is a delightful and charming project perfect for celebrating the festive season. If you’re looking to create something unique and cheerful for Easter, this pattern is perfect for both beginners and experienced crocheters.
This tutorial will guide you through every step, ensuring you can make your own Happy Easter Chick Ornament with confidence. With this step-by-step approach, you’ll enjoy the process while crafting a cute decoration that adds a personal touch to your Easter celebrations.
Crocheting a Happy Easter Chick Ornament is not only fun but also a creative way to explore the art of crochet. This project combines basic stitches and simple techniques, making it ideal for anyone looking to try their hand at amigurumi-style ornaments.
By following this pattern, you will learn how to shape your chick perfectly, add adorable details, and finish it with a polished look. Whether for gifting or decorating your home, this crochet ornament brings warmth and joy.
Moreover, creating a Happy Easter Chick Ornament allows crafters to develop their skills while enjoying a satisfying project. The bright colors, cheerful design, and festive appeal make this ornament stand out. You’ll also discover tips and tricks for maintaining stitch consistency, choosing the best yarn, and ensuring your ornament remains durable over time. This guide ensures that even if it’s your first time crocheting an Easter decoration, you’ll succeed with a charming result.
To create your Happy Easter Chick Ornament, you’ll need a few basic materials and tools. Start with worsted weight yarn in yellow for the body, orange for the beak and feet, and optional colors for added details like bows or Easter eggs. Make sure to choose a yarn that is soft yet durable for long-lasting ornaments.
You’ll also need a crochet hook suitable for your yarn—typically a 3.5mm or 4mm hook works well. Additional materials include a yarn needle for sewing parts together, stuffing for giving your chick a plush shape, and small safety eyes or embroidery thread for the facial features. Having stitch markers can also help you keep track of rounds.
It’s essential to have scissors handy to cut yarn neatly. Optional embellishments like tiny ribbons or beads can enhance your ornament and make it more festive. By preparing all these materials in advance, your crafting session will be smooth and enjoyable. This step-by-step tutorial ensures that you’ll use each tool effectively to create a perfect Happy Easter Chick Ornament.
Begin your Happy Easter Chick Ornament by creating a magic ring with six single crochet stitches. This forms the base of the chick’s body. Working in rounds, gradually increase stitches to form a rounded shape, giving your ornament a cute and plump appearance.
Continue crocheting in rounds, following the pattern for consistent shaping. Pay attention to stitch counts to ensure your chick remains symmetrical. This is crucial for both aesthetic appeal and stability when your ornament is finished.
After forming the main body, create the wings by crocheting small ovals or triangles. These can be attached by sewing or crocheting them directly onto the sides of the body. Position the wings carefully to maintain balance and proportion.
Next, craft the beak and feet using orange yarn. The beak is typically a small triangular shape attached to the front of the body, while the feet can be made with simple loops or triangles attached to the bottom. These tiny details bring your chick to life.
Embroider or attach safety eyes carefully, making sure they are positioned evenly. Adding facial details gives character and charm to your ornament, enhancing its festive appeal.
Finally, stuff the body lightly and sew the bottom closed neatly. You can also add a loop at the top to hang your Happy Easter Chick Ornament on an Easter tree, garland, or anywhere in your home for decoration.
For beginners, it’s important to take your time with each round and stitch. Ensure your tension is consistent to avoid uneven shapes. Practicing basic stitches before starting the Happy Easter Chick Ornament can boost confidence and improve results.
Using stitch markers is highly recommended, especially for keeping track of rounds. This simple tool can prevent errors and save time while crocheting.
Choose a yarn that is easy to work with. Smooth, medium-weight yarn works best for small amigurumi projects like this ornament. Avoid overly fuzzy yarn, as it can make it difficult to see stitches.
Pay attention to assembly. Carefully sew wings, beak, and feet in place to ensure symmetry. Small details significantly impact the overall look of your chick.
Experiment with colors and accessories. Adding tiny bows, ribbons, or different colored yarn for wing tips can personalize your ornament and make it unique.
Finally, don’t rush. Crocheting ornaments is meant to be enjoyable. Take breaks when needed, and remember that imperfections add character, making your Happy Easter Chick Ornament truly handmade and special.
One common mistake is uneven stuffing, which can distort the shape of the chick. To prevent this, stuff gradually and evenly, checking the shape frequently.
Another mistake is miscounting stitches, which can cause asymmetry. Always count your stitches at the end of each round and use stitch markers for accuracy.
Attaching wings or facial features incorrectly is also common. Place pieces carefully before sewing or crocheting to ensure correct positioning.
Using the wrong hook size can affect tension and overall size. Stick to the recommended hook size for your yarn to achieve the correct dimensions.
Choosing inappropriate yarn, like extremely fuzzy or thin yarn, can make stitching difficult and affect the ornament’s durability. Stick to smooth, medium-weight yarn.
Finally, rushing through the project can lead to sloppy stitches or misaligned parts. Take your time, follow each step carefully, and enjoy the crafting process.
Q: Can beginners make this Happy Easter Chick Ornament?
A: Yes! This pattern is beginner-friendly with simple stitches and a step-by-step guide.
Q: What kind of yarn is best for this project?
A: Worsted weight yarn in soft, smooth texture works best for durability and ease of use.
Q: How do I attach the wings and beak securely?
A: Sew or crochet them carefully in place, using pins to ensure proper alignment before attaching permanently.
Q: Can I make the ornament larger or smaller?
A: Yes, adjust the yarn thickness and hook size to modify the size of your chick.
Q: How do I hang my ornament?
A: Add a small loop at the top using yarn or thread to hang it on an Easter tree or garland.
Q: Is this pattern suitable for gifts?
A: Absolutely! Handmade ornaments are thoughtful, unique gifts that are perfect for Easter.
In this guide, you’ve learned how to create a Happy Easter Chick Ornament step by step. From gathering materials to crocheting the body, wings, beak, and adding finishing touches, every step was explained clearly for beginners and experienced crafters alike.
By following this tutorial, you can enjoy crafting a charming, festive decoration that brings joy to your Easter celebrations. Leave your honest feedback, share your creations, and suggest improvements for future patterns. Your insights help make crafting even more enjoyable for everyone.


