Crochet Pig In A Granny Square Blanket Pattern


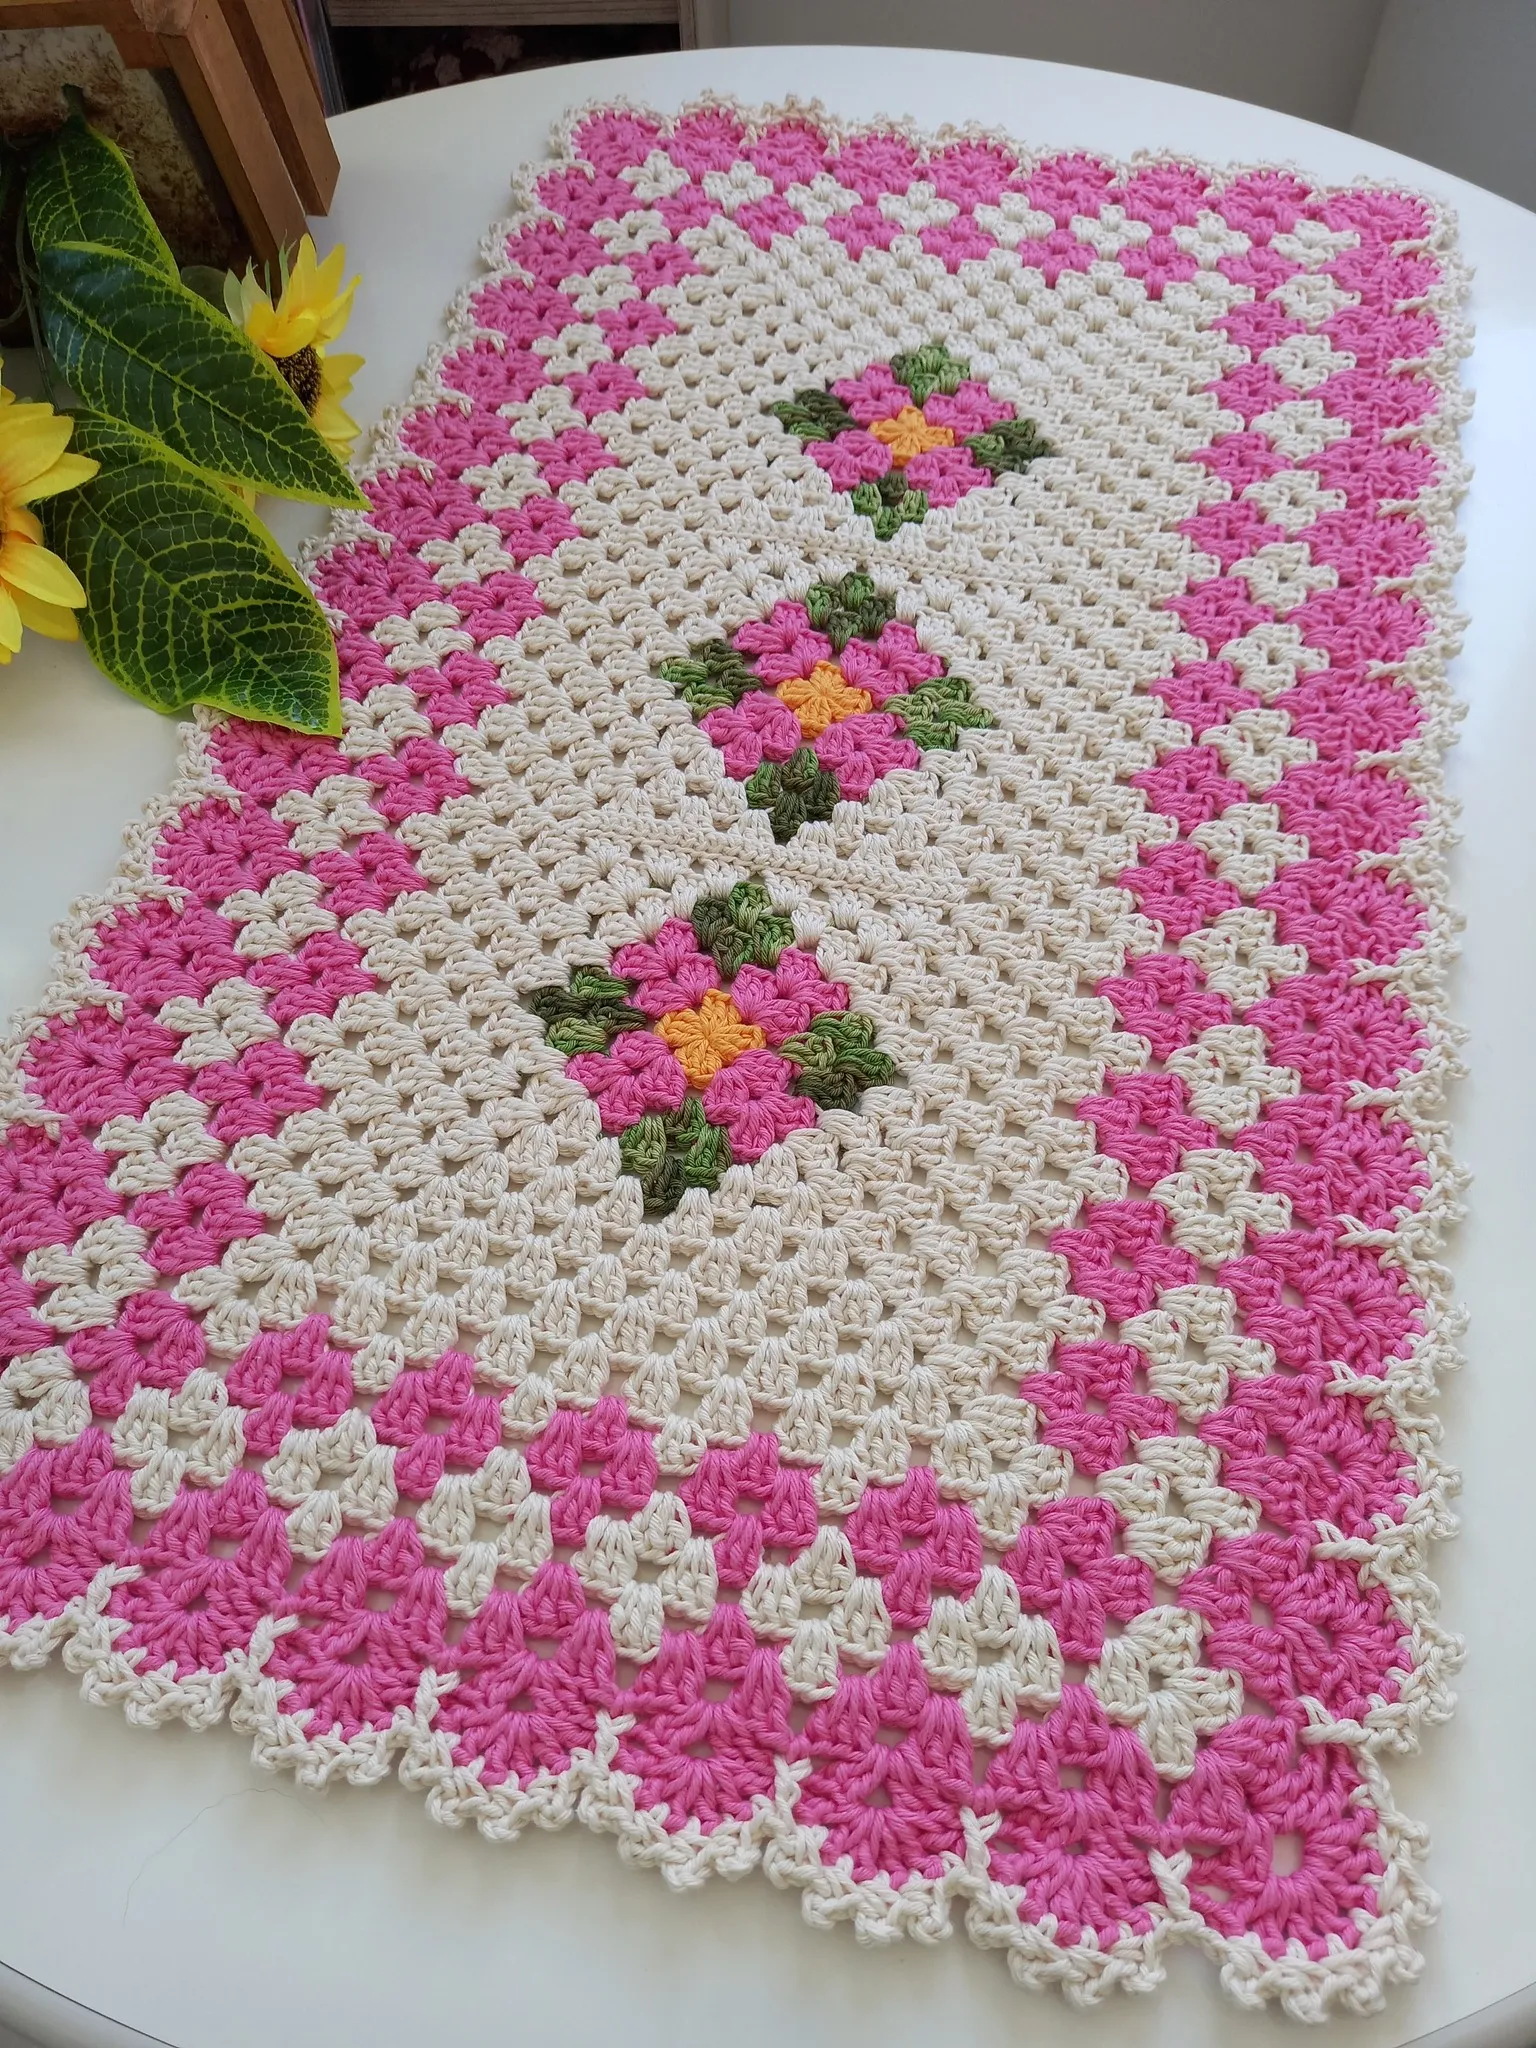
Crochet Block Rug – Free Pattern is an ideal project for both beginner and experienced crocheters who want to create a stylish and functional rug for their home.
Using simple crochet blocks, this free pattern allows you to customize your rug’s size, colors, and textures to perfectly match your decor. With this tutorial, you can transform basic yarn into a cozy and decorative piece that adds warmth and charm to any room.
Creating your own crochet block rug gives you the freedom to experiment with different yarn types and color combinations. Each crochet block acts like a small building piece, making the rug modular and easy to adjust in size.
This free pattern ensures that even newcomers to crochet can successfully complete a beautiful rug without needing advanced skills or complicated techniques.
In addition to being a creative outlet, making a crochet block rug is practical and rewarding. Handmade rugs are often more durable and unique compared to mass-produced options. Following this Crochet Block Rug – Free Pattern, you will be able to craft a functional home accessory that showcases your creativity and enhances your living space.
When starting your crochet block rug, selecting the right yarn and hook is essential for the final texture and durability. Thick or bulky yarns work best for rugs as they provide stability and softness underfoot. Cotton or acrylic blends are popular choices due to their strength and ease of maintenance.
Matching the hook size to your yarn is equally important. A larger hook will create looser stitches, giving your rug a soft, flexible feel, while a smaller hook produces tighter stitches for a denser, more structured rug. Following the recommended hook size in the pattern ensures that your blocks are uniform and fit together neatly.
The choice of yarn color can completely change the rug’s appearance. You can use bright and contrasting colors for a playful look or stick to neutral shades for a more sophisticated style. Planning your color scheme before you start will make assembling the blocks much easier.
Using the right materials also affects the rug’s longevity. Durable yarn and an appropriate hook prevent stretching and deformation over time. For rugs that will experience heavy foot traffic, consider reinforcing the edges of each block to maintain their shape.
Paying attention to yarn and hook selection at the start ensures that your Crochet Block Rug – Free Pattern turns out beautifully and lasts for years. Taking time to test a small block before committing to the full rug can help you fine-tune your choice of materials.
Understanding these basics of yarn and hook selection sets a strong foundation for the next steps in creating your unique crochet rug.
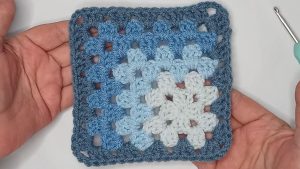
The heart of the Crochet Block Rug – Free Pattern is the simple square block. Each block is crocheted individually and then joined together to form the final rug. Beginners will find that mastering one block at a time makes the process manageable and enjoyable.
To begin, create a foundation chain of the desired width. The number of chains determines the size of each block, so consistency is key. Working in rounds or rows, you can use basic stitches such as single crochet, double crochet, or half double crochet depending on the pattern instructions.
Maintaining even tension throughout each block ensures that all squares are uniform. Uneven tension can lead to warped blocks, making assembly more difficult. Practicing a few sample blocks before starting the full rug helps maintain consistency.
Adding decorative elements like textured stitches or simple color changes enhances the visual appeal of each block. These variations make your rug more unique and allow you to showcase your creativity. Experiment with different stitch patterns within the block to create a more dynamic design.
Once all blocks are completed, they are ready to be joined. The tutorial provides tips on arranging blocks in a pleasing layout, so you can play with colors and patterns before committing to the final assembly.
Creating the basic crochet block is an essential skill for completing the Crochet Block Rug – Free Pattern successfully and allows for endless customization.
Joining the blocks is where your individual squares transform into a cohesive rug. There are multiple techniques to connect blocks, including slip stitch, whip stitch, or single crochet join. Each method offers a slightly different look and flexibility.
Lay out all your blocks in the desired pattern before joining. This visual arrangement helps ensure that color transitions and designs flow smoothly across the rug. Experiment with different layouts to achieve the most visually appealing result.
Careful alignment is crucial when joining blocks. Misaligned squares can make the rug appear uneven, so take time to match corners and edges precisely. Pinning blocks together before stitching can help maintain accuracy.
Joining blocks with a contrasting yarn color creates a defined outline, while using the same yarn as the block gives a seamless, continuous appearance. Consider the effect you want to achieve when selecting yarn for joining.
Check for consistent stitch tension while joining. Too tight stitches can warp the blocks, while too loose stitches may leave gaps. Maintaining a balanced tension ensures a professional finish for your Crochet Block Rug – Free Pattern.
Once all blocks are joined, finishing the edges with a border or decorative trim enhances durability and adds a polished look. A simple single crochet or shell stitch border is often enough to frame your rug beautifully.
Finishing touches make your crochet block rug both attractive and functional. Adding a border, weaving in loose ends, and lightly blocking the rug improves its overall appearance. Blocking helps the blocks lie flat and even out minor irregularities.
Regular maintenance keeps your rug looking fresh. Most crochet rugs made from cotton or acrylic can be gently hand-washed or machine-washed on a delicate cycle. Always follow yarn care instructions to prevent damage.
Consider adding a non-slip rug pad underneath to prevent slipping, especially if your rug will be placed on smooth surfaces like tile or hardwood. This increases safety and preserves the rug’s shape over time.
For a more luxurious feel, you can brush the surface lightly to soften the yarn. This works particularly well for bulky yarns, giving your rug a plush texture underfoot.
Rotating your rug occasionally prevents uneven wear, especially in high-traffic areas. This simple step ensures that your blocks retain their shape and color vibrancy for longer.
By paying attention to finishing touches and care, your Crochet Block Rug – Free Pattern remains a functional and decorative piece for years to come.
Q: How many crochet blocks do I need for a rug?
A: The number of blocks depends on the desired rug size. Calculate the total area and divide it by the size of one block to determine the exact number needed.
Q: Can I use different yarn types in one rug?
A: Yes, mixing yarn types is possible, but be aware of different stretch and durability properties. Stick to yarns with similar weights for best results.
Q: What is the easiest way to join blocks?
A: Many beginners find the slip stitch or whip stitch methods easiest. Both provide secure joins while being straightforward to execute.
Q: Can I make a round or oval rug using this pattern?
A: Absolutely! While square blocks are standard, arranging them creatively allows you to create round or oval rugs with slight trimming adjustments.
Q: How do I prevent the edges from curling?
A: Consistent tension, proper blocking, and adding a border all help prevent curling and give the rug a flat, professional finish.
Q: Is this pattern suitable for beginners?
A: Yes. The Crochet Block Rug – Free Pattern uses basic stitches and modular blocks, making it accessible for beginners while allowing advanced crocheters to add creative touches.
Creating your own Crochet Block Rug – Free Pattern is a rewarding project that combines creativity, practicality, and relaxation. By choosing the right yarn, mastering the basic block, carefully joining the squares, and finishing with attention to detail, you can craft a rug that is both beautiful and durable.
Handmade rugs provide a personal touch to any living space and are perfect for gifting. We hope this step-by-step guide helps you feel confident in creating your unique crochet rug. Share your experience, leave your honest opinion, and suggest ideas for future projects to inspire the crochet community.


