Crochet Pig In A Granny Square Blanket Pattern


If you’ve ever wanted to add a touch of elegance to your crochet projects, this Crochet Rose Granny Square – Pattern Free tutorial is perfect for you.
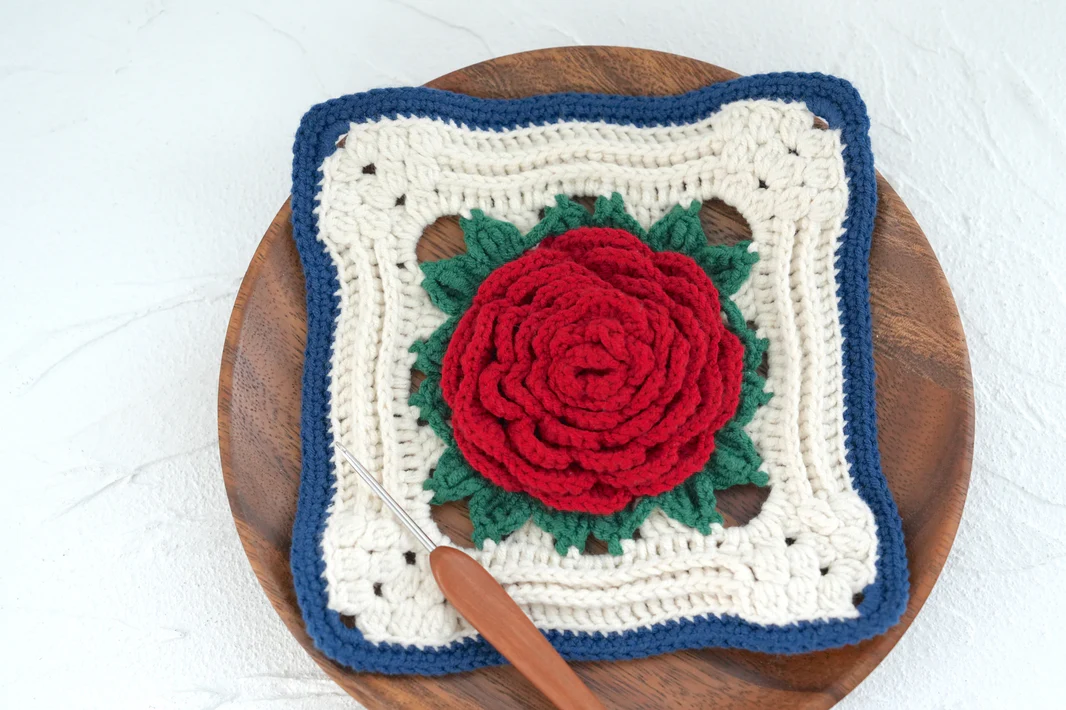
With just a few simple stitches, you can create a beautiful rose motif at the center of a classic granny square. This pattern is suitable for beginners and experienced crocheters alike, allowing you to craft flowers that can be turned into blankets, pillows, or decorative pieces.
The beauty of the Crochet Rose Granny Square lies in its versatility. You can choose different colors for the rose and background to match your home décor or gift theme.
Whether you prefer soft pastel shades for a delicate look or bright, bold colors for a statement piece, this free pattern adapts easily. It’s also a great way to use leftover yarn from previous projects, turning scraps into something functional and aesthetically pleasing.
In this Crochet Rose Granny Square – Pattern Free, you’ll learn how to create the rose in the center, build the surrounding granny square, and join multiple squares into larger projects. Step by step, this guide will help you achieve even stitches, symmetrical petals, and a polished finished square. By the end, you’ll have a versatile and beautiful motif ready for endless crochet possibilities.
Before starting your Crochet Rose Granny Square – Pattern Free, gather the right materials. You will need medium-weight yarn in at least two colors: one for the rose and one for the square background. High-quality cotton or acrylic yarn works best, offering both durability and softness.
Choose a crochet hook that matches your yarn’s recommended size. A hook that is too small may make your stitches tight and difficult to work with, while a hook that is too large may create loose and uneven petals.
A yarn needle is essential for weaving in ends and securing your squares once completed. Keeping your workspace organized will make the process more enjoyable and efficient.
Scissors are needed to cut yarn cleanly at the end of rounds or when changing colors. Clean edges ensure that your finished square looks neat and professional.
Optionally, stitch markers can help mark the beginning of rounds or important stitch points, which is particularly helpful when creating the rose center.
Finally, measuring your work periodically helps maintain consistent size and shape, ensuring that all squares will join together evenly in larger projects.
The focal point of the Crochet Rose Granny Square – Pattern Free is the rose in the center. Start with a magic ring or chain four and join to form a circle. This forms the foundation of the flower.
Work three double crochets into the center ring, followed by two chains to create the first petal cluster. Each petal cluster forms the characteristic layered look of a rose.
Continue working in rounds, increasing the number of petals as you go. You can change colors every round if desired, which adds depth and dimension to the rose motif.
Make sure to keep your tension even. Tight or loose stitches can distort the petals, affecting the overall look of the rose. Regularly checking your work will help maintain symmetry.
Once the desired number of petals is complete, fasten off the yarn and weave in ends using a yarn needle. A neat center ensures a polished final square.
Before moving to the granny square portion, you can lightly block the rose to enhance its shape. Pin it gently and steam it to relax the fibers and ensure all petals are even.
With the rose completed, it’s time to form the surrounding granny square. This step turns your flower into a versatile motif for blankets or other projects.
Attach your background yarn to any corner space, then work three double crochets, followed by two chains, and three more double crochets to create the first corner.
Continue adding clusters along the sides of the rose, forming the square evenly. Make sure each side has the same number of clusters to maintain symmetry.
Corners are created using the standard method: three double crochets, two chains, and three double crochets in the same space. This ensures the square maintains a flat, even shape.
Work additional rounds if you desire a larger square. Changing colors for each round creates a layered effect that highlights the central rose beautifully.
Finally, fasten off the yarn and weave in all ends neatly. Your rose granny square is now ready to be joined with others or used individually as a decorative piece.
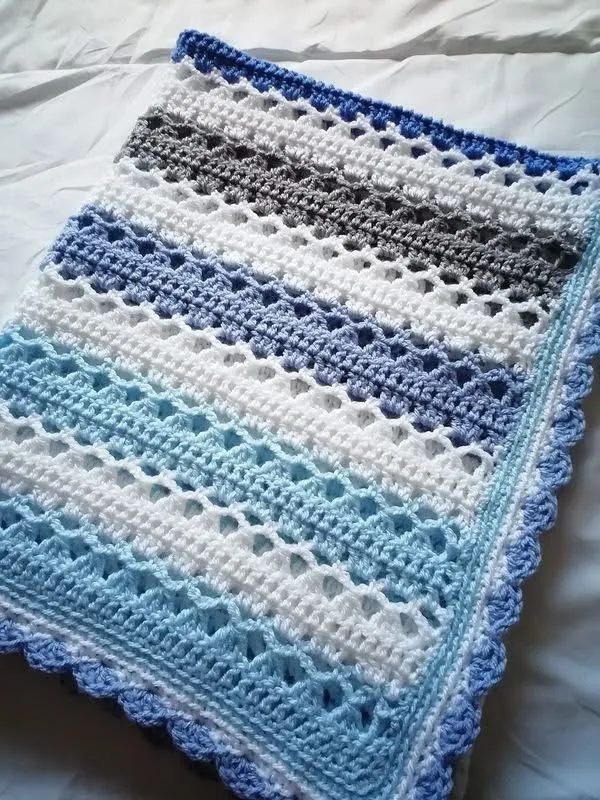
Once you have multiple Crochet Rose Granny Square – Pattern Free motifs, you can join them to create larger projects like blankets, cushion covers, or table runners.
Join the squares using your preferred method: whip stitch, slip stitch, or even a continuous crochet border. Each technique offers a slightly different look and texture.
Arrange squares in a layout that pleases your eye, alternating colors or rose placement for visual interest. Planning ahead prevents awkward color repetitions.
Adding a border around the joined squares enhances the finished piece. Single crochet, scalloped edges, or shells add a professional touch.
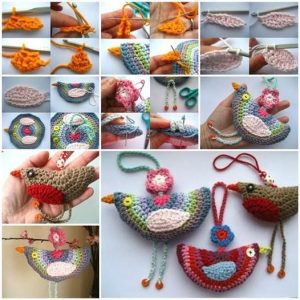
Consider adding embellishments like small crochet leaves or beads to complement the roses. This step adds a personalized and creative flair to your project.
Finally, gently wash and block the finished item to even out stitches and relax the fabric. Proper finishing ensures your crochet work looks polished and lasts longer.
Consistency in tension is key when making Crochet Rose Granny Square – Pattern Free motifs. Uneven tension can distort petals and squares.
Use stitch markers to track the beginning of rounds or important stitch points, particularly in the rose center, to maintain symmetry.
Experiment with color combinations. Contrast between the rose and background yarn can make the flower stand out beautifully.
Practice different joining techniques to see which one suits your project best. Some methods provide a flatter finish, while others create raised seams.
Take breaks during long sessions to prevent fatigue and maintain accuracy. Crocheting with focus ensures cleaner, more precise stitches.
Finally, don’t rush the process. Each square is a work of art, and patience leads to better results and a more enjoyable experience.
1. Can beginners make the Crochet Rose Granny Square?
Yes, this pattern is beginner-friendly. The instructions are step by step, allowing anyone with basic crochet skills to follow along successfully.
2. What yarn works best for the rose granny square?
Medium-weight cotton or acrylic yarn is ideal for durability, softness, and ease of handling.
3. How do I make the rose petals stand out?
Changing colors every round and maintaining consistent tension helps the petals appear distinct and layered.
4. Can I join the squares into blankets?
Absolutely. Multiple motifs can be joined with your preferred technique to create blankets, pillows, or decorative items.
5. Should I block the squares?
Blocking is recommended to even out stitches and enhance the rose and square shapes, giving a polished final look.
6. Can I customize the square size?
Yes. Add more rounds to enlarge the square or use thicker yarn and a larger hook for a bigger motif.
7. Are there other uses for rose granny squares?
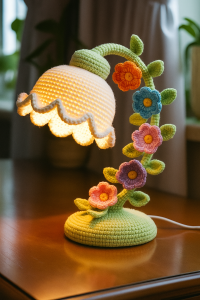
Yes, they can be used in bags, scarves, wall hangings, or any decorative crochet project.
Creating a Crochet Rose Granny Square – Pattern Free is a rewarding and versatile crochet project. You’ve learned how to craft a beautiful rose, build a surrounding granny square, and join motifs into larger creations.
These squares offer endless possibilities, from blankets and cushions to personalized gifts. Share your results, give your honest feedback, and suggest new variations to inspire fellow crocheters. Your creativity brings this timeless pattern to life.


