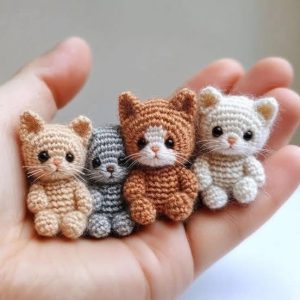
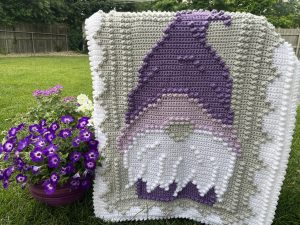
Crochet Pig In A Granny Square Blanket Pattern


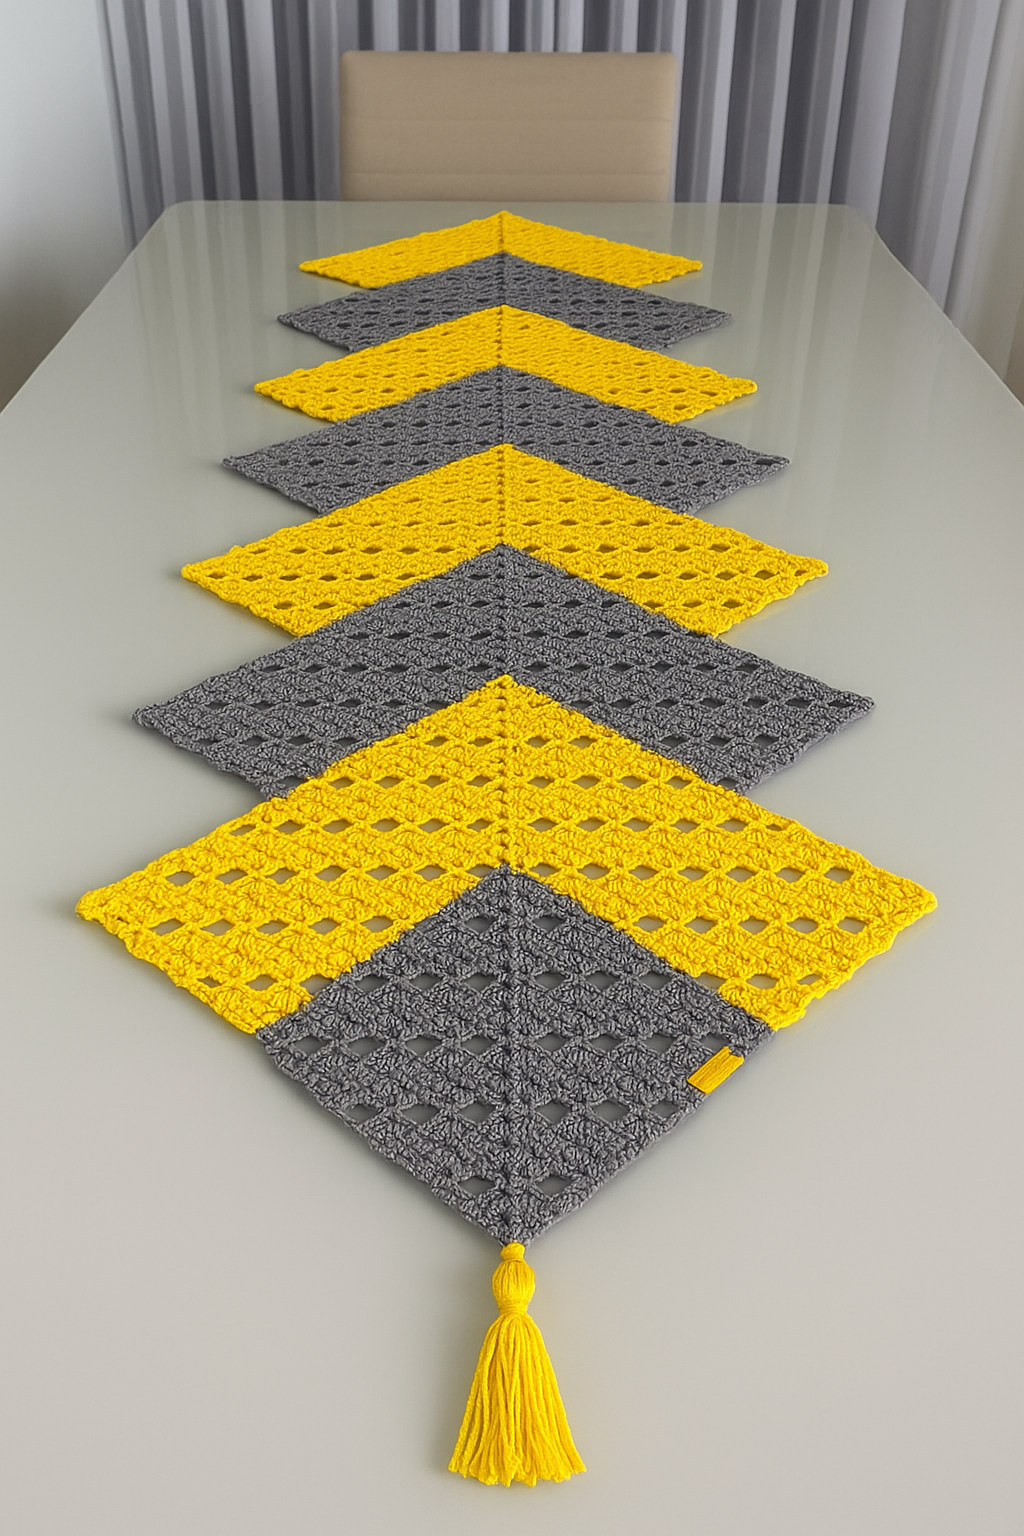
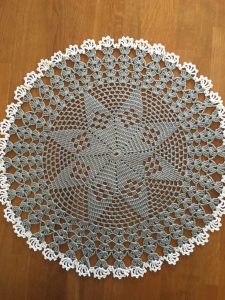
Crochet Table Runner Sensation Fast and Economical is the perfect project for those who love the beauty of handmade crafts but don’t want to spend too much time or money.
A table runner adds a touch of elegance to any dining or coffee table, and when made by hand, it becomes a unique piece full of personality.
This pattern is designed for speed and simplicity, using easy stitches that even beginners can master. With just a few skeins of yarn, you can create something that looks luxurious while being surprisingly affordable.
What makes the Crochet Table Runner Sensation Fast and Economical so appealing is its balance between efficiency and style. You can finish it in just a few hours, making it an ideal weekend project or a last-minute decoration for a special dinner or event.
Whether you prefer neutral tones for a minimalist look or bright colors for a lively touch, this crochet runner adapts beautifully to any theme. The project is not only budget-friendly but also deeply satisfying—seeing your creation transform a plain table into a cozy, elegant setting is pure joy.
In this Crochet Table Runner Sensation Fast and Economical guide, we’ll go through every step of the process, from materials to finishing touches. You’ll learn how to choose the right yarn, create the base pattern, and customize your table runner for any occasion. The instructions are simple, yet the results are stunning, giving you a professional-looking piece without complicated techniques.
Before you begin, make sure you have all the materials ready. One of the best things about Crochet Table Runner Sensation Fast and Economical projects is that they require very little equipment. The main focus is on the right choice of yarn and hook, which will determine the look and texture of your table runner.
First, choose a medium-weight yarn or cotton thread. Cotton is highly recommended because it gives your table runner structure, durability, and a smooth finish. You can use solid colors for an elegant look or mix two shades for a modern effect. Acrylic yarn also works well if you prefer a softer, slightly bulkier finish.
Next, select a crochet hook that matches your yarn’s label recommendation—usually between 3.0 mm and 4.5 mm for this type of project. The hook size affects how loose or tight your stitches appear. A smaller hook creates a firm and compact runner, while a larger one adds a light, lacy texture.
You’ll also need scissors for trimming ends, a yarn needle for weaving loose threads, and a measuring tape to ensure the desired length. Optional materials include decorative beads, lace trims, or small tassels to add a personal touch to your finished runner.
To keep your crochet table runner even and flat, it’s helpful to block it after completion. Simply dampen your finished piece, stretch it gently into shape, and let it dry flat. This final step makes your stitches stand out beautifully and gives the runner a professional finish.
Making your Crochet Table Runner Sensation Fast and Economical is a straightforward and relaxing process. You’ll be working mainly with basic crochet stitches that form a neat and balanced design. This makes it suitable for beginners, but even experienced crocheters will enjoy how quickly it comes together.
Step 1: Start with the Foundation Chain.
Begin by creating a chain that matches your desired table runner width. If you’re making a runner for a long dining table, you can start with 40–60 chains, depending on the yarn thickness.
Step 2: Work the First Row.
Using double crochet (dc) stitches, work your way across the chain. This will be the base row that provides structure. Make sure to keep your tension consistent to ensure an even edge.
Step 3: Create the Pattern Rows.
For the body of the runner, alternate rows of double crochet and chain stitches. This combination forms a beautiful openwork texture. Continue until the piece reaches your preferred length.
Step 4: Add the Border.
Once the main section is complete, add a decorative edge using picot or shell stitches. This simple detail gives your crochet table runner a refined and finished look.
Step 5: Weave in the Ends and Block.
Use a yarn needle to hide loose ends neatly. Then, block your runner by dampening it lightly and stretching it flat on a towel. Let it dry completely for a crisp, elegant finish.
Step 6: Optional Embellishments.
If you wish, you can add tassels or fringe to each end of your table runner. Beads or lace can also elevate the design, making it more festive or elegant depending on the occasion.
One of the best parts about Crochet Table Runner Sensation Fast and Economical projects is how customizable they are. You can easily adapt the pattern to fit your home décor or the theme of an event.
Try making a runner with ombré yarn to create a gradient effect that changes color along the length of your table. This adds a modern twist without extra effort. You can also alternate solid and openwork rows to give your runner more dimension and texture.
If you prefer a rustic style, use natural jute or hemp yarns. These materials give your table a farmhouse-inspired charm and pair beautifully with wooden furniture. For a more luxurious look, metallic or silk-blend yarns add subtle shimmer that’s perfect for festive occasions.
You can even crochet multiple shorter runners to use as placemats or decorative strips for small tables. Matching napkin rings or coasters made with the same pattern can complete the set beautifully.
Experimenting with colors is another fun way to personalize your design. Use seasonal shades—pastels for spring, warm tones for autumn, or red and gold for holidays—to make your crochet table runner fit any celebration.
To ensure your Crochet Table Runner Sensation Fast and Economical looks its best, keep these helpful tips in mind as you work.
Always check your gauge before starting to make sure your stitches match the pattern’s size. This helps the runner maintain its intended length and width.
Maintain even tension throughout your work to avoid wavy edges. If your runner starts to curve, slightly adjust your hook size or loosen your stitches.
Take breaks between rows to stretch your hands, especially if you’re using smaller hooks. Crochet should be relaxing, not stressful on your wrists.
Don’t skip the blocking process. It might seem optional, but it’s what transforms a simple handmade piece into something professional and polished.
Finally, store your table runner flat or rolled to prevent creasing. If you need to wash it, use mild soap and cool water, then reshape while damp.
1. Is this crochet table runner suitable for beginners?
Yes! This Crochet Table Runner Sensation Fast and Economical pattern uses only basic stitches, making it perfect for beginners.
2. What kind of yarn should I use?
Cotton yarn is best for durability and an elegant finish, but acrylic yarn works well for a softer look.
3. Can I make this runner longer or wider?
Absolutely. Simply adjust the number of foundation chains for width and add more rows for length.
4. How long does it take to complete?
Most crafters can finish it in one or two days, depending on the desired size.
5. How do I make it more decorative?
You can add borders, fringe, beads, or even crochet flowers to enhance your design.
6. Can this pattern be machine washed?
If you use cotton yarn, it can be washed on a gentle cycle. Always air-dry to preserve the shape.
It’s a simple yet elegant way to elevate your home décor while enjoying the relaxing rhythm of crochet. With just a few materials and a little time, you can craft a stunning handmade piece that adds beauty to any space.
Now that you’ve learned how to make your own crochet table runner, we’d love to hear from you! Share your honest opinion, suggestions, and ideas for future projects. Your feedback helps inspire more creative and beautiful crochet designs.


