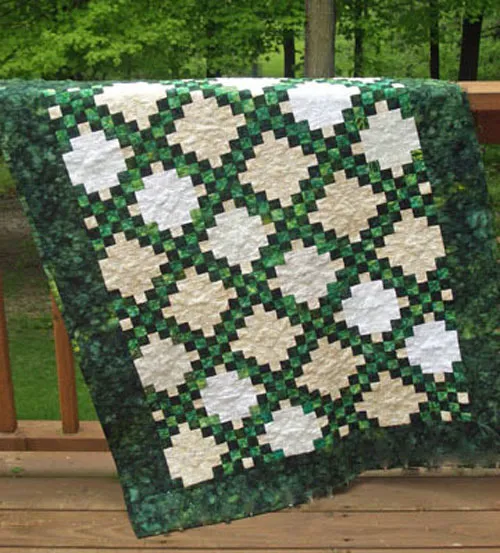
Crochet Pig In A Granny Square Blanket Pattern


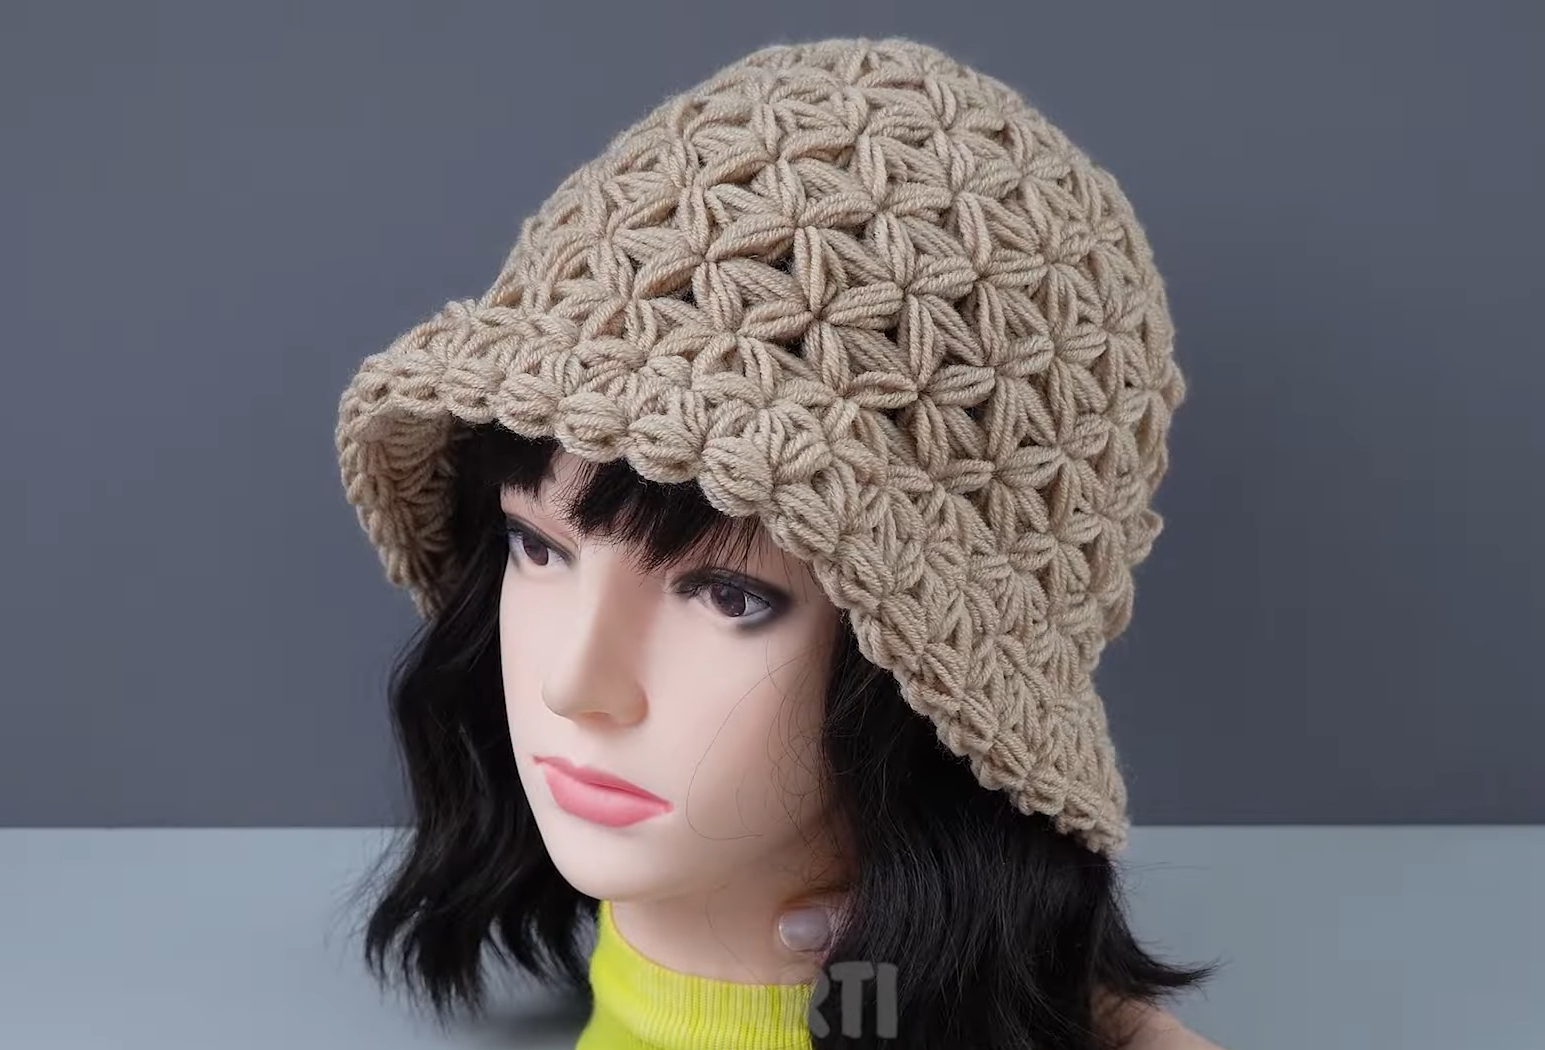
Easy Crochet Bucket Hat – Free Pattern is one of the most stylish and beginner-friendly crochet projects you can make this season. This hat combines practicality and fashion, giving you a handmade accessory perfect for sunny days, beach outings, or just adding a touch of charm to your everyday outfit.
Crocheting your own bucket hat not only saves money but also allows you to create something truly unique that reflects your personal style and creativity.
What makes the Easy Crochet Bucket Hat – Free Pattern so appealing is its simplicity. Even if you’re new to crocheting, this project is easy to follow and incredibly satisfying to complete.
It uses basic stitches, minimal materials, and can be customized with different yarn textures and colors. Plus, it’s a quick project — you can finish your own stylish bucket hat in just one or two afternoons, depending on your crochet speed.
In this complete Easy Crochet Bucket Hat – Free Pattern guide, you’ll learn how to make your own hat from start to finish. We’ll cover the materials you’ll need, the basic stitches used, and step-by-step instructions to ensure your project turns out perfectly. By the end, you’ll have not only a fashionable hat but also a deeper appreciation for the joy of handmade creations. Let’s grab our hooks and begin!
To get started with your Easy Crochet Bucket Hat – Free Pattern, you’ll need just a few basic supplies. Gathering the right materials ensures your hat will be both comfortable and durable, making it suitable for everyday wear.
First, choose your yarn. Cotton yarn is highly recommended because it’s breathable, lightweight, and holds its shape well — perfect for warm weather hats. If you prefer a softer texture, you can mix cotton with acrylic yarn. Choose your favorite color or try a combination of shades for a unique look.
Next, select your crochet hook. For most medium-weight yarns, a 4.0mm or 4.5mm hook works best. Be sure to check the yarn label for the recommended hook size. Using the correct hook helps you maintain even tension throughout your project, which is key to making your crochet bucket hat fit comfortably.
You’ll also need a pair of scissors to cut your yarn and a yarn needle to weave in the ends once your project is complete. Optional accessories include a stitch marker to keep track of rounds and a measuring tape to ensure your hat fits the desired head size. With these simple tools, you’re ready to begin creating your stylish bucket hat.
The Easy Crochet Bucket Hat – Free Pattern is made in three main parts: the crown, the sides, and the brim. Each section uses basic crochet stitches that, when combined, create the classic bucket hat shape. Follow the steps below to achieve the perfect result.
Step 1: Crochet the Crown. Start with a magic ring or chain loop. Work single crochets (sc) or double crochets (dc) into the ring to form a flat circle. Increase evenly with each round until the circle matches the top measurement of your head. This will be the top of your hat.
Step 2: Form the Sides. Once the crown is complete, stop increasing and continue crocheting in rounds to build the sides of your hat. The height of this section determines how deep your hat will sit on your head. Adjust as needed for comfort and style.
Step 3: Create the Brim. To form the brim, begin adding increases again. This flares the edge outward, giving your hat its signature bucket shape. You can make the brim as wide or narrow as you like, depending on your preferred style.
Step 4: Add Finishing Touches. Once your hat reaches the desired size, cut your yarn and weave in all loose ends using a yarn needle. You can also add a decorative border by crocheting a final round with a contrasting color.
Step 5: Block Your Hat (Optional). For a more polished look, gently block your hat by dampening it and shaping it with your hands. Let it dry flat to help the brim stay in place. Your Easy Crochet Bucket Hat is now ready to wear!
One of the best parts of working with Easy Crochet Bucket Hat – Free Pattern is how easily it can be customized. Whether you prefer a minimalist look or something bold and colorful, there are countless ways to make your hat unique.
Try experimenting with different yarn colors — solid shades create a clean, classic appearance, while variegated or ombré yarns produce a playful, trendy effect. You can even make a striped pattern by switching colors every few rounds.
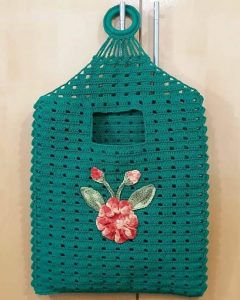
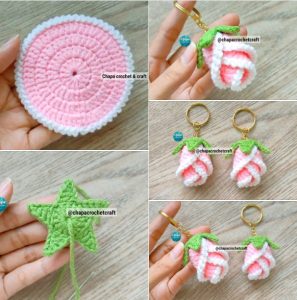
You can also add decorative elements like small crochet flowers, appliqués, or embroidered initials to personalize your hat. For a beachy vibe, attach a small crochet seashell or use natural tones like beige and cream.
If you’re making this for cooler months, choose a thicker yarn such as wool or acrylic. This will give your hat more warmth while maintaining its stylish structure. The versatility of the Easy Crochet Bucket Hat – Free Pattern makes it a must-have in every crafter’s repertoire.
While the pattern is simple, a few tips can help you achieve the best results with your Easy Crochet Bucket Hat – Free Pattern.
First, always check your gauge before starting. This ensures your hat will fit correctly. If your stitches are too tight or too loose, adjust your hook size accordingly.
Second, keep your rounds consistent. Using a stitch marker at the beginning of each round helps you stay on track and maintain symmetry throughout the hat.
Third, if you want a firmer brim, try adding a round of single crochet stitches with tighter tension or using a slightly smaller hook. This helps your brim hold its shape better.
Lastly, don’t be afraid to experiment with textures. Combining stitches like half double crochet (hdc) and double crochet (dc) can add beautiful depth and visual interest to your finished hat.
1. How long does it take to make a crochet bucket hat?
Most people can finish a crochet bucket hat in 2 to 4 hours, depending on skill level and yarn type.
2. What is the best yarn for crochet bucket hats?
Cotton yarn is ideal because it’s lightweight, breathable, and holds its shape well.
3. Can I make a bucket hat with leftover yarn?
Yes! Crochet Bucket Hat Free Patterns are perfect for using up leftover yarn from other projects.
4. How do I make my hat fit better?
Measure your head circumference before starting and adjust the number of stitches or rounds as needed.
5. Can I wash my crochet bucket hat?
Yes, most cotton or acrylic yarns are washable. Hand washing and air drying are recommended to maintain shape.
Making an Easy Crochet Bucket Hat – Free Pattern is a rewarding experience that combines creativity, relaxation, and style. This project is beginner-friendly, quick to finish, and endlessly customizable — perfect for adding a handmade touch to your wardrobe.
By following this guide, you’ve learned how to crochet, shape, and personalize your own beautiful bucket hat. Now it’s your turn to create and wear your design proudly.
If you enjoyed this tutorial, leave your honest opinion and suggestions for future crochet projects — your feedback helps inspire new ideas for creative makers everywhere.


