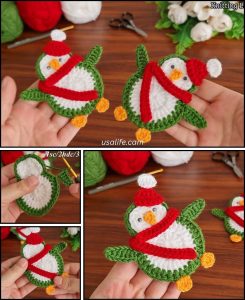
Crochet Pig In A Granny Square Blanket Pattern


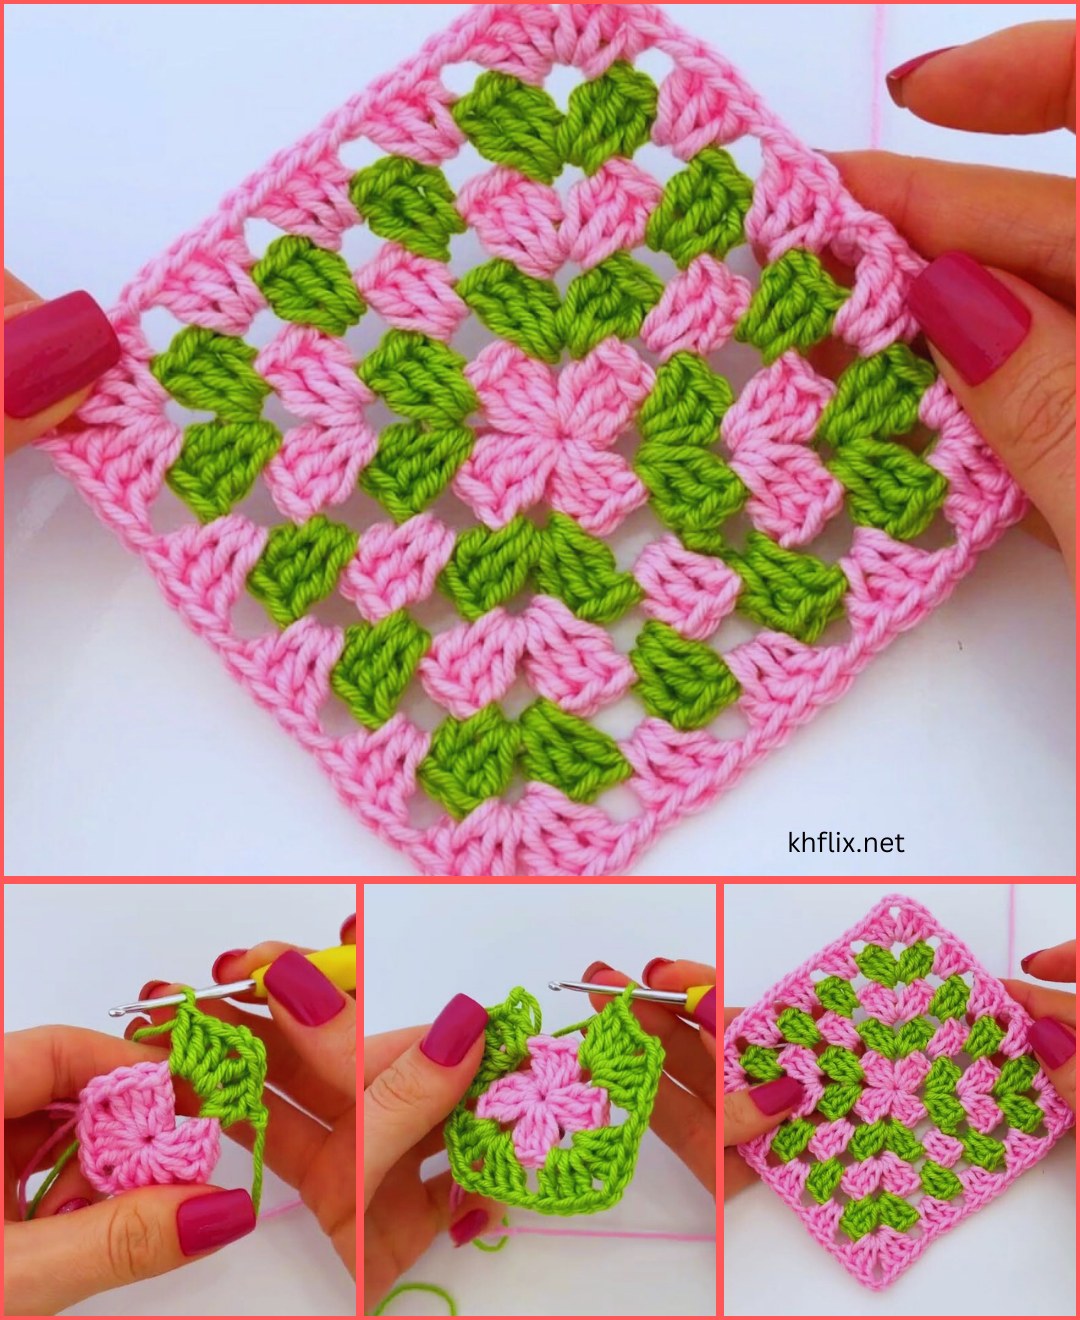
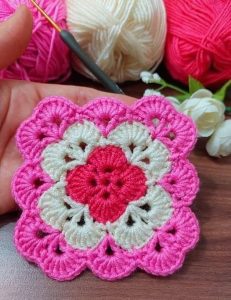
Learning how to make a beautiful simple crochet square – step-by-step is a fundamental skill for anyone interested in crochet. Crochet squares are versatile, allowing crafters to create blankets, pillow covers, bags, and decorative projects with ease.
With this method, even beginners can produce neat, uniform squares, while experienced crafters can experiment with colors, textures, and patterns to create unique designs.
The beauty of how to make a beautiful simple crochet square – step-by-step lies in its simplicity and versatility. Each square serves as a building block for larger projects, making it easy to combine multiple squares into cohesive and aesthetically pleasing creations. Following a structured step-by-step guide ensures even beginners can achieve professional-looking results without frustration.
Crochet squares are not only practical but also allow for creative expression. By varying colors, stitches, and patterns, you can design squares that match your personal style or project theme.
Learning this technique opens doors to countless creative possibilities, from gifts to home décor, all while improving crochet skills and confidence.
Before starting how to make a beautiful simple crochet square – step-by-step, gathering the right materials is essential. Yarn choice is key, as it determines texture, durability, and the final appearance of your squares. Cotton or acrylic yarn is ideal for beginners due to its ease of use and smooth stitch definition. Soft wool or blends can be used for a warmer, more luxurious feel.
You will need the appropriate crochet hook size based on your chosen yarn. Using the correct hook ensures consistent tension and uniform stitches, which is crucial for producing squares of the same size. Beginners should follow the hook recommendations on the yarn label, while experienced crocheters may adjust for tighter or looser stitches depending on the desired effect.
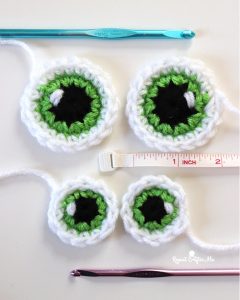
Other necessary tools include scissors, stitch markers, and a yarn needle for finishing. Stitch markers are especially useful for marking corners or rounds, while a yarn needle allows for weaving in ends neatly to prevent unraveling. Measuring tape is also recommended to ensure consistent square dimensions.
Color selection plays a major role in the final design. You can choose a single color for a classic, elegant look or combine multiple colors for vibrant, eye-catching squares. Planning your color scheme in advance ensures harmonious and visually appealing results.
Optional embellishments can add charm to your squares. Simple textures, bobbles, or small embroidered details can make each square unique. However, keep in mind that simplicity is key for beginners, so start with basic squares and gradually explore embellishments as you gain confidence.
Organizing your workspace improves efficiency. Keeping yarn, hooks, and patterns in one place prevents frustration and allows uninterrupted crafting. A dedicated project bag or basket is ideal for storing squares, especially when working on multiple pieces for larger projects.
Starting your beautiful simple crochet square – step-by-step involves creating a foundation chain. This chain typically forms a small loop, which serves as the center of the square. Joining the chain into a ring with a slip stitch ensures that your square begins symmetrically. Accurate counting of stitches at this stage is crucial for maintaining the correct shape.
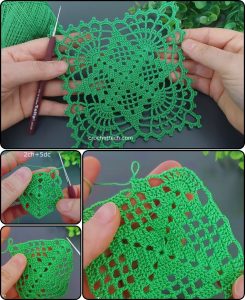
The first round usually consists of clusters of stitches that radiate from the center. These clusters define the structure of the square, forming the basis for corners and edges. Common stitches include chain stitches, double crochet, and single crochet. Beginners should follow the instructions closely to maintain uniformity in stitch height and placement.
Corners are formed using chain spaces or increases, allowing the square to expand evenly. Properly counted chain spaces ensure that each corner remains square and symmetrical. Stitch markers can be helpful to indicate corners, making it easier to maintain shape throughout multiple rounds.
Subsequent rounds build outward, adding layers to the square. You can introduce color changes, textured stitches, or decorative patterns as you progress. Following the step-by-step instructions ensures consistent stitch placement, resulting in an even, balanced square.
Finishing the square involves completing the outermost round and securing the yarn. A slip stitch joins the last stitch to the first, and loose ends are woven in neatly using a yarn needle. This step not only secures your work but also enhances the overall appearance, giving your square a polished finish.
Repeating these steps produces multiple squares that can later be assembled into larger projects. By maintaining consistent stitch counts, tension, and size, each square matches perfectly, allowing for seamless joining in blankets, scarves, or decorative pieces.
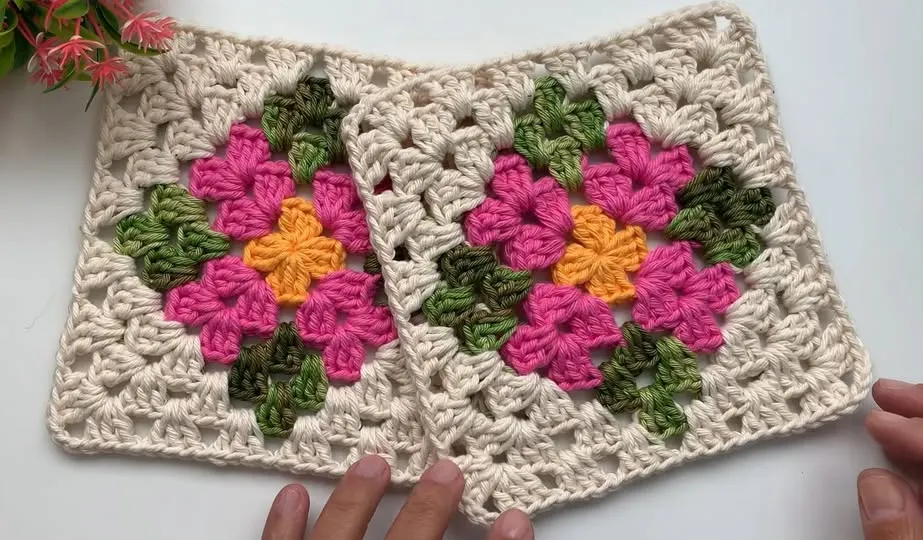
Once you have multiple squares from your beautiful simple crochet square – step-by-step, the next step is assembly. Squares can be joined using various techniques, including slip stitch, single crochet, whipstitch, or sewing with a yarn needle. Choosing the method depends on the desired seam appearance and the project type.
Planning the layout is essential before joining. Arrange all squares in the intended pattern to ensure color distribution, symmetry, and overall visual harmony. This planning step prevents mismatched seams and creates a cohesive final design.
Slip stitch joining creates a flat, nearly invisible seam, preserving the texture of each square. This method is ideal for blankets or lightweight projects where flexibility is desired. Single or double crochet joins add dimension and a decorative border between squares, creating a framed effect.
Whipstitch or sewing squares together provides a secure seam, especially for bags or items that require durability. Careful alignment ensures corners match perfectly, maintaining a neat, professional appearance. Consistent tension while stitching is key to preventing gaps or uneven joins.
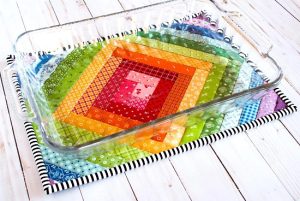
Blocking completed squares enhances the final product. Wet or steam blocking helps even out stitches, flattens edges, and ensures squares maintain their intended shape. Blocking is particularly important for squares with intricate patterns or color changes.
Finally, finishing touches like decorative edges or borders can be added after joining. This adds a polished, cohesive look to your project, making the assembled squares appear as a unified and aesthetically pleasing piece.
Beautiful simple crochet squares can be used in countless creative projects. They are most commonly assembled into blankets and throws, providing warmth, style, and handmade charm. By combining different colors and patterns, you can create visually striking blankets suitable for any décor.
Pillow covers or cushion designs are another excellent application. Crocheted squares provide texture and style, and multiple squares can be joined to create custom-sized covers. Adding borders or edging enhances the overall aesthetic.
Wearable items such as scarves, vests, ponchos, or bags benefit from square motifs. Arranging squares in different patterns allows for creative, lightweight, and stylish designs. Combining textures or colors creates unique handmade fashion items.
Smaller projects like coasters, table runners, or wall hangings are perfect for beginners. Simple crochet squares allow experimentation with color combinations and patterns without committing to large-scale projects. These small projects can also serve as quick gifts.
Gift ideas using crochet squares are endless. Handmade blankets, scarves, or home décor items crafted from simple squares make thoughtful, personalized presents. Each piece reflects effort, care, and attention to detail.
Finally, decorative installations or art projects can incorporate crochet squares. From geometric wall hangings to textured art panels, the versatility of simple squares ensures that they remain relevant for a wide range of creative applications.
What is a crochet square?
A crochet square is a small, square-shaped crochet piece that can be combined with others to create blankets, scarves, or decorative items.
Can beginners follow step-by-step tutorials?
Yes, step-by-step guides simplify the process, making it accessible even for beginners.
What materials are best?
Cotton, acrylic, or wool blends work well. Choose a yarn suitable for your project’s desired texture and durability.
How do I join squares together?
Squares can be joined using slip stitch, single or double crochet, whipstitch, or sewing with a yarn needle.
Can I use multiple colors?
Absolutely. Mixing colors adds visual interest and allows creative freedom in designing patterns.
Should I block my squares?
Blocking ensures that squares lay flat, evens out stitches, and enhances overall appearance, especially for intricate patterns.
How long does it take to make one square?
Time varies depending on skill level and pattern complexity, ranging from 15 minutes to over an hour per square.
Are crochet squares reusable for multiple projects?
Yes, squares can be rearranged and repurposed for different projects, making them versatile and efficient.
Learning how to make a beautiful simple crochet square – step-by-step equips crafters with a versatile skill that opens doors to countless creative projects.
From selecting materials to stitching, shaping, joining, and blocking, each step ensures consistent, professional-looking squares. These squares can be combined into blankets, pillows, wearable items, décor, or gifts, providing endless creative opportunities.
Share your feedback and ideas! Your experiences and suggestions inspire other crafters and encourage the exploration of new patterns, colors, and designs using simple crochet squares.


