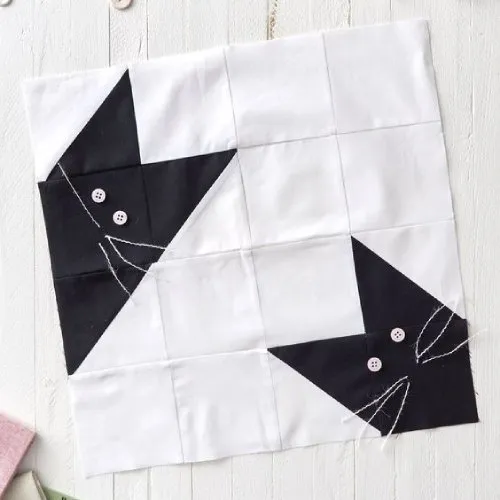
Crochet Pig In A Granny Square Blanket Pattern


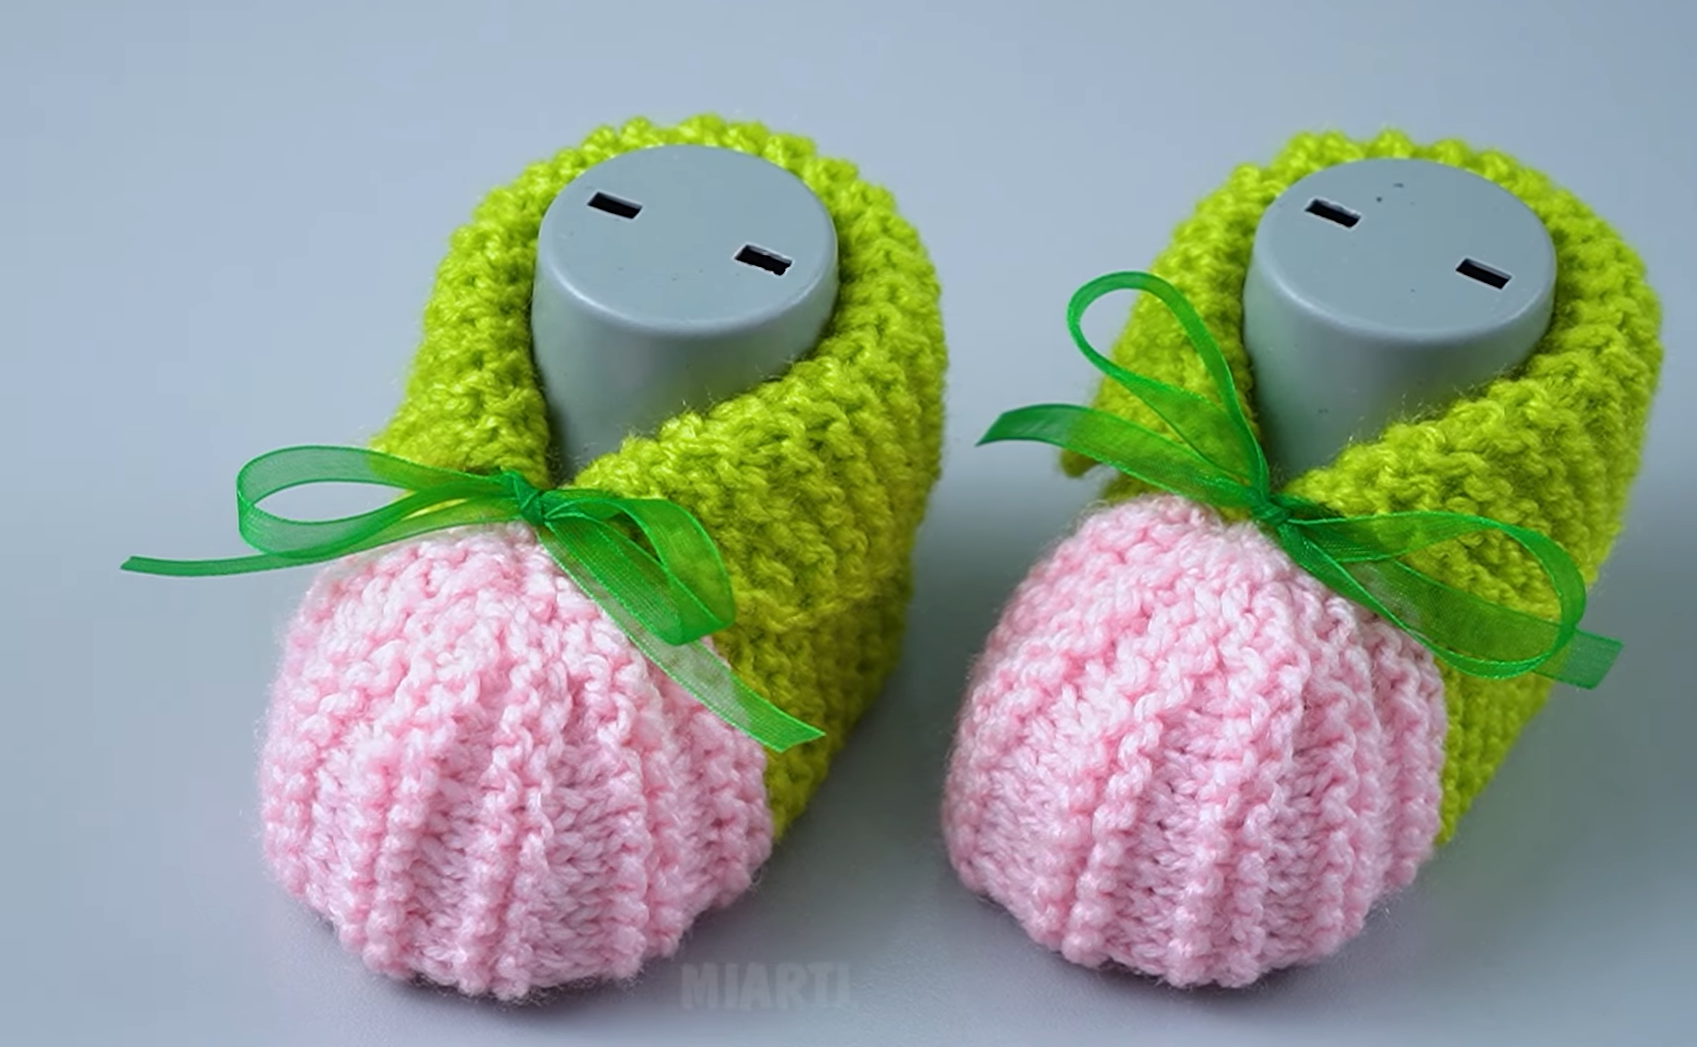
Knitting Baby Booties – Step by Step Tutorial for Beginners is a perfect project for anyone who loves handmade crafts and wants to create something adorable, useful, and full of love.
Baby booties are one of the most charming and practical gifts you can make for newborns. They’re tiny, soft, and cozy—ideal for keeping little feet warm and stylish.
Whether you’re new to knitting or have some experience, this project will guide you through every step to ensure you achieve beautiful results with ease.
One of the best things about knitting baby booties is that it doesn’t require much yarn or complicated stitches. You can use leftover yarn from other projects and still end up with something special.
The process is relaxing, creative, and rewarding. Plus, handmade baby items carry emotional value that store-bought items can’t match. Every stitch represents care and affection, making these booties treasured keepsakes for years to come.
In this Knitting Baby Booties – Step by Step Tutorial for Beginners, you’ll learn everything from choosing the right materials to shaping the perfect bootie. This tutorial breaks down the process into simple, easy-to-follow steps. You’ll also find tips to help customize your booties with colors, buttons, ribbons, and other decorations. Let’s begin this wonderful knitting journey together and create something that’s both beautiful and meaningful.
Before starting your Knitting Baby Booties – Step by Step Tutorial for Beginners, gather all the essential materials. Having the right tools makes your work smoother and ensures your finished booties are soft, comfortable, and safe for babies to wear.
You’ll need a pair of knitting needles—size 3.5 mm or 4 mm works well for most baby yarns. The yarn should be soft and gentle against a baby’s skin. Choose baby-weight or DK (double knitting) yarn, which offers a nice balance between warmth and flexibility. Cotton and acrylic blends are great choices because they’re easy to wash and non-irritating.
You’ll also need scissors, a yarn needle for sewing seams, and a small stitch holder or safety pin to hold stitches when shaping the bootie. If you want to add a bit of personality, you can include small buttons, bows, or ribbons, but make sure any decorations are securely attached and safe for infants.
Lastly, keep a measuring tape nearby. Baby booties usually measure around 8–10 cm in length, depending on the baby’s age. By adjusting the yarn thickness or needle size, you can easily resize the booties for newborns or older babies.
Now that you have your materials ready, it’s time to start knitting your adorable booties. Follow this Knitting Baby Booties – Step by Step Tutorial for Beginners carefully, and you’ll soon have a perfect little pair ready to gift or keep.
Step 1: Cast On Stitches
Begin by casting on around 32 stitches using your chosen yarn. This will form the base of the bootie sole. Work in garter stitch (knit every row) for about 10–12 rows to create a soft, flexible foundation.
Step 2: Shape the Toe Section
Switch to stockinette stitch (knit one row, purl one row) and knit around 8 rows. To create the toe curve, you’ll need to decrease stitches gradually on both sides every second row until about 20 stitches remain. This forms the rounded front of the bootie.
Step 3: Form the Instep and Cuff
For the instep, knit 10 stitches, then turn and work only on these stitches for several rows to build the top of the foot. This will form the bootie’s opening area. Afterward, pick up stitches along the sides to continue knitting around the entire bootie again. Work in rib stitch (knit 1, purl 1) for about 10 rows to form a snug cuff.
Step 4: Finish the Bootie
Bind off all stitches loosely to keep the cuff stretchy. Fold the bootie in half and sew along the sole and back seam using your yarn needle. Turn it inside out, and you’ll see your finished bootie take shape beautifully.
Step 5: Add Personal Touches
This is the fun part! You can add a ribbon around the cuff or a tiny button for decoration. If you prefer, crochet a simple chain cord and thread it through the cuff for a tie closure. Personal touches make your knitted baby booties even more special.
Step 6: Repeat for the Second Bootie
Now, simply repeat the same steps for the second bootie. Try to maintain the same tension and row count to ensure both match perfectly. Once complete, you’ll have an adorable pair of baby booties ready to warm little feet.
Even though Knitting Baby Booties – Step by Step Tutorial for Beginners is easy, a few simple tips can make your results even better. Paying attention to small details ensures your finished booties are soft, even, and perfectly shaped.
Always check your gauge before starting. Every knitter’s tension is different, so knitting a small test swatch can help make sure your booties end up the right size. If your stitches are too tight, use slightly larger needles; if they’re too loose, go down a size.
Choose yarn colors wisely. Pastel tones like light blue, pink, mint, or cream are traditional favorites for babies, but you can experiment with vibrant shades too. Just make sure the yarn is colorfast and won’t bleed when washed.
Avoid heavy embellishments or loose threads. Babies love to grab and chew, so safety should always come first. Keep any decorative elements minimal and firmly attached.
For extra warmth, you can line your booties with a thin layer of soft fleece or felt. This adds comfort and ensures the baby’s feet stay cozy in cooler weather.
If you plan to give your knitted baby booties as a gift, wrap them nicely in tissue paper or place them in a small gift box. Handmade gifts always feel more special when presented beautifully.
Lastly, practice patience. The first pair might not look perfect, but with practice, your technique will improve. Each attempt teaches you something new about shaping, tension, and design.
Once you’ve mastered the basics of Knitting Baby Booties – Step by Step Tutorial for Beginners, you can experiment with different designs. The possibilities are endless, and each style brings a new level of charm to your creations.
Try adding stripes by alternating two yarn colors every few rows. You can also incorporate small motifs like hearts or stars using duplicate stitching for an extra decorative touch.
For winter booties, use thicker yarn and larger needles to make them extra warm and snug. Add a small pom-pom on the cuff for a playful look.
If you prefer a vintage style, try lace knitting techniques to create delicate openwork patterns. These look especially beautiful in white or cream-colored yarn.
Another fun idea is to create animal-themed booties. Add small ears, whiskers, or eyes to turn your booties into adorable bears, bunnies, or kittens. These designs are always a hit at baby showers.
For a modern twist, experiment with gradient or self-striping yarns that create color transitions without changing threads. Each pair will have a unique pattern without extra effort.
Finally, if you love crafting for charity, consider knitting several pairs and donating them to hospitals or shelters. Handmade baby booties spread warmth in more ways than one.
1. What is the easiest stitch to use for baby booties?
The easiest stitches for beginners are garter stitch and stockinette stitch. They create a soft texture and are simple to follow, making them perfect for baby projects.
2. How long does it take to knit a pair of baby booties?
Most knitters can complete a pair in 2–3 hours, depending on skill level and pattern complexity. It’s a quick and satisfying project.
3. Can I use leftover yarn from other projects?
Yes! Knitting Baby Booties – Step by Step Tutorial for Beginners works wonderfully with small amounts of yarn, making it a great way to use leftovers creatively.
4. How do I make the booties fit perfectly?
Check your gauge before starting and measure the sole length according to the baby’s age. Adjust your stitch count or needle size as needed.
5. Are knitted baby booties safe for newborns?
Yes, as long as you use soft, baby-safe yarn and avoid small, detachable decorations. Comfort and safety should always come first.
6. How do I wash knitted baby booties?
Use mild detergent and cold water. Hand washing is best, but many baby yarns are machine washable—just check the label.
In this Knitting Baby Booties – Step by Step Tutorial for Beginners, you learned how to create adorable, comfortable, and personalized booties using simple stitches and easy techniques.
From choosing materials to adding final details, each step brings you closer to crafting something truly heartfelt. These handmade booties make wonderful gifts and treasured keepsakes.
If you enjoyed this guide, share your thoughts below! Leave a sincere opinion or suggestion—your feedback helps inspire future tutorials and keeps this creative community growing.


