Crochet Pig In A Granny Square Blanket Pattern


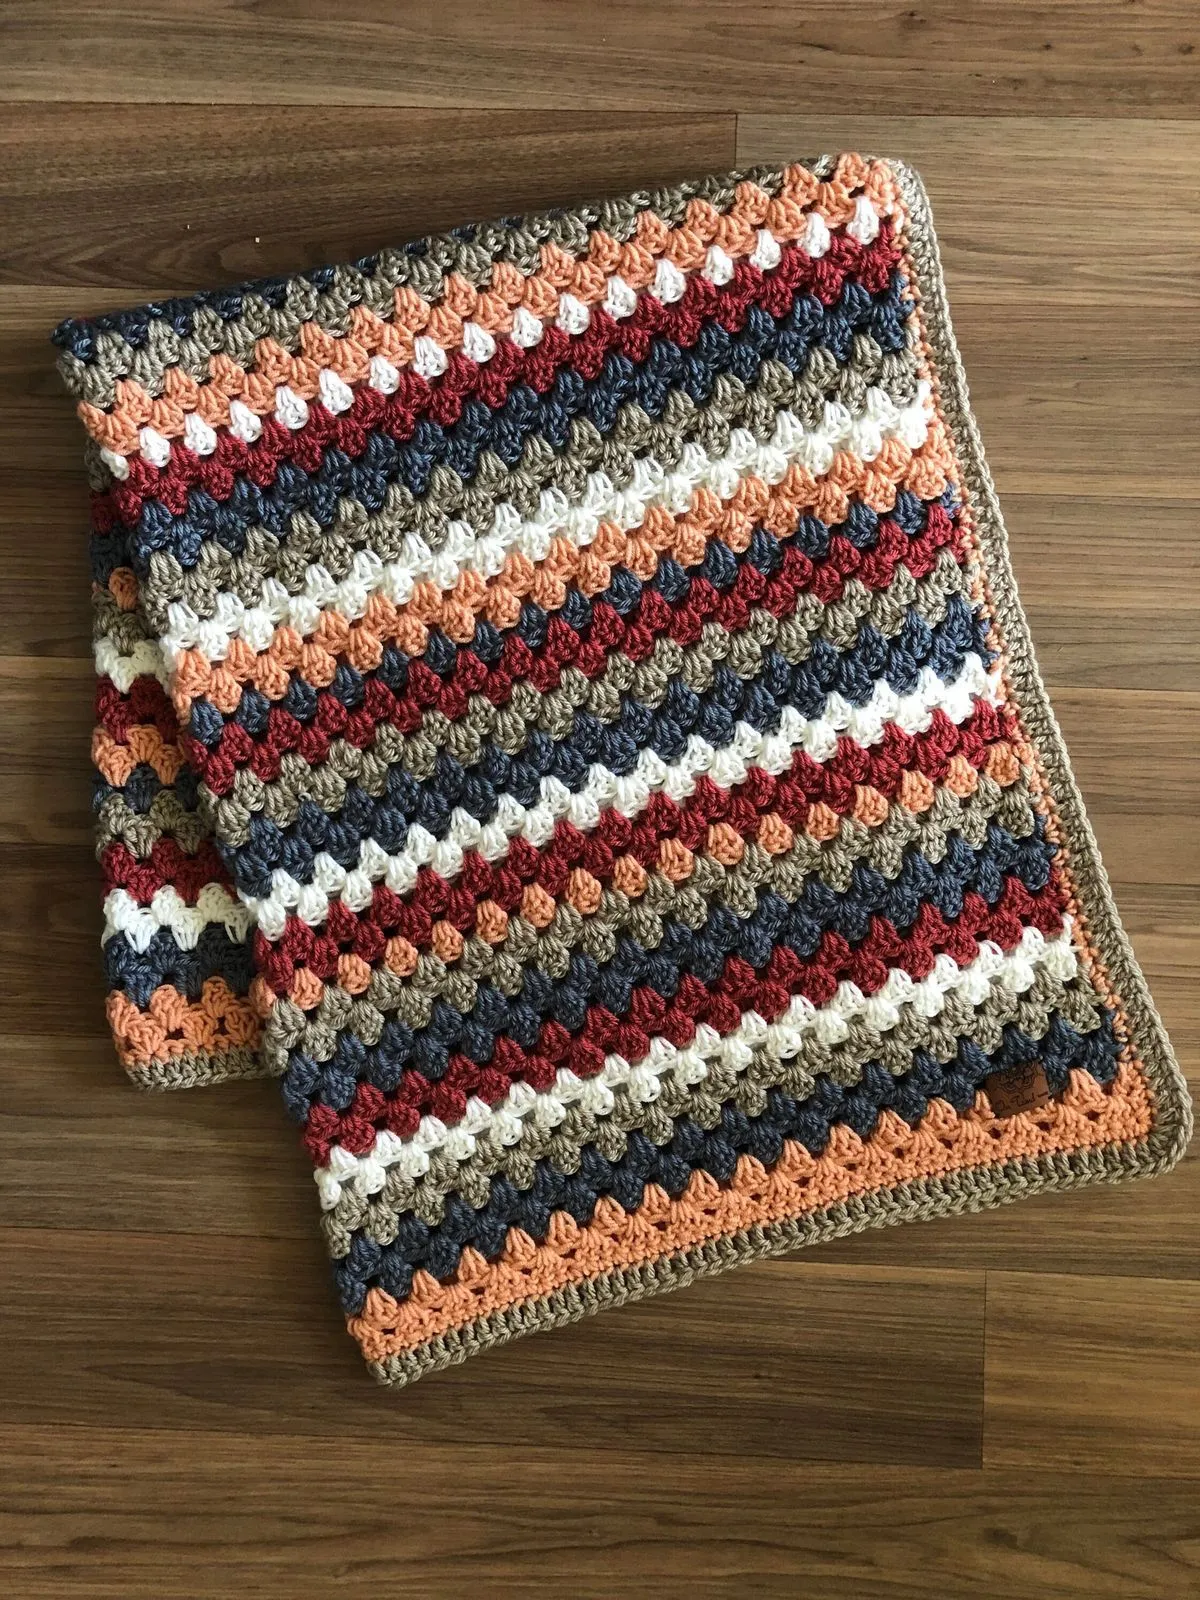
If you are a crochet lover looking for a timeless and versatile stitch, The Granny Stripe Stitch – Crochet Tutorial is exactly what you need. This stitch is one of the most popular techniques in the crochet world because it combines simplicity with endless creative possibilities.
It is easy enough for beginners to master, yet engaging enough for experienced crocheters to enjoy. Whether you want to make a cozy blanket, a colorful scarf, or even a stylish pillow cover, the granny stripe stitch can transform your yarn into something truly special.
What makes the Granny Stripe Stitch – Crochet Tutorial so appealing is how quickly projects come together. Since this stitch is built on clusters of double crochets, it grows faster than many other stitch patterns.
That means you can create large items like afghans without spending months on a single project. It’s also the kind of stitch that allows you to use up leftover yarn, making it ideal for scrap-friendly designs that look cheerful and unique.
Another wonderful feature of the Granny Stripe Stitch – Crochet Tutorial is its flexibility with colors. Because the stitch structure naturally forms stripes, it invites you to play with endless color combinations.
You can go bold with rainbow shades, soft with pastels, or even minimalistic with neutrals. The result is always a piece that looks lively and textured, while still being easy to make.
To begin the Granny Stripe Stitch – Crochet Tutorial, the first step is gathering the right materials. Yarn choice is crucial, as this stitch works beautifully with most fiber types. Acrylic yarn is a favorite for blankets because it is durable and easy to care for, while cotton yarn is perfect for lighter projects such as summer accessories or home décor items.
Choosing the correct crochet hook size is also important. Typically, the yarn label will recommend a hook size, but some crocheters prefer going up a size for a looser, drapier fabric. For beginners, sticking to medium-weight yarn and a size H/5.0 mm or I/5.5 mm hook is a great starting point.
Besides yarn and hooks, you’ll need a pair of sharp scissors and a yarn needle. Scissors are essential for cutting yarn cleanly, and the yarn needle helps you weave in ends neatly once your project is complete. These small details add to the polish of your finished work.
Another useful tool for beginners is a set of stitch markers. While the granny stripe stitch is repetitive, markers can help you keep track of the start and end of your rows, ensuring consistent stitch counts throughout the project.
It’s also important to set up a comfortable workspace. Good lighting, a cozy chair, and a basket or bag to hold your yarn make the crochet experience more enjoyable and less stressful on your body. Comfort is key when working on large projects that may take many hours.
Finally, a positive mindset and patience are the most valuable tools. The Granny Stripe Stitch – Crochet Tutorial may seem repetitive at times, but it offers a relaxing rhythm. Embracing the process is part of the joy of crochet.
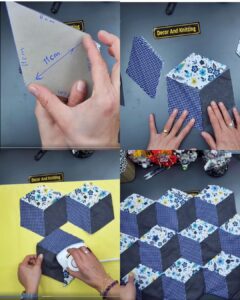
The Granny Stripe Stitch – Crochet Tutorial begins with a foundation chain. To create a proper base, you’ll want to chain a multiple of three stitches plus one extra. This ensures your clusters of double crochet fit perfectly across the row.
Once the foundation chain is ready, the first row is worked by placing double crochets into the chain to form the base. Many crocheters find that working into the back bumps of the chain creates a neater edge, though this is optional.
The signature granny stripe effect starts in the second row. Here, you’ll crochet clusters of three double crochets into every third stitch across the row. This repetition forms the classic stripe appearance that makes this stitch so recognizable.
For each new row, you’ll chain three (to count as the first double crochet) and continue placing clusters in the spaces created by the row below. This method makes the stitch flow smoothly and gives the fabric a uniform look.
As you progress, the fabric naturally forms stripes that highlight your color choices. This is where creativity shines—switching colors every row or every few rows produces dynamic patterns that stand out.
Don’t forget to end your rows with care. Placing the last double crochet cluster in the proper spot keeps your edges straight and ensures your piece looks professional. Mastering this small detail prevents slanted or uneven sides.
The beauty of the Granny Stripe Stitch – Crochet Tutorial is that it can be applied to countless projects. One of the most common uses is for crochet blankets. Because the stitch builds quickly and looks stunning in stripes, it’s perfect for afghans of all sizes.
Another fun application is scarves. A granny stripe scarf not only keeps you warm but also showcases your creativity with colors. It’s an excellent beginner project since it doesn’t require shaping and allows you to practice stitch consistency.
Cushion covers and throws are also popular options. Using this stitch in home décor projects adds a handmade charm and a touch of personality to any living space. Whether you stick to muted tones or go for bold contrasts, the results are always eye-catching.
For those who love wearable items, granny stripe stitch works well for shawls and ponchos. Its open texture provides warmth without being too heavy, making it a versatile choice for transitional seasons.
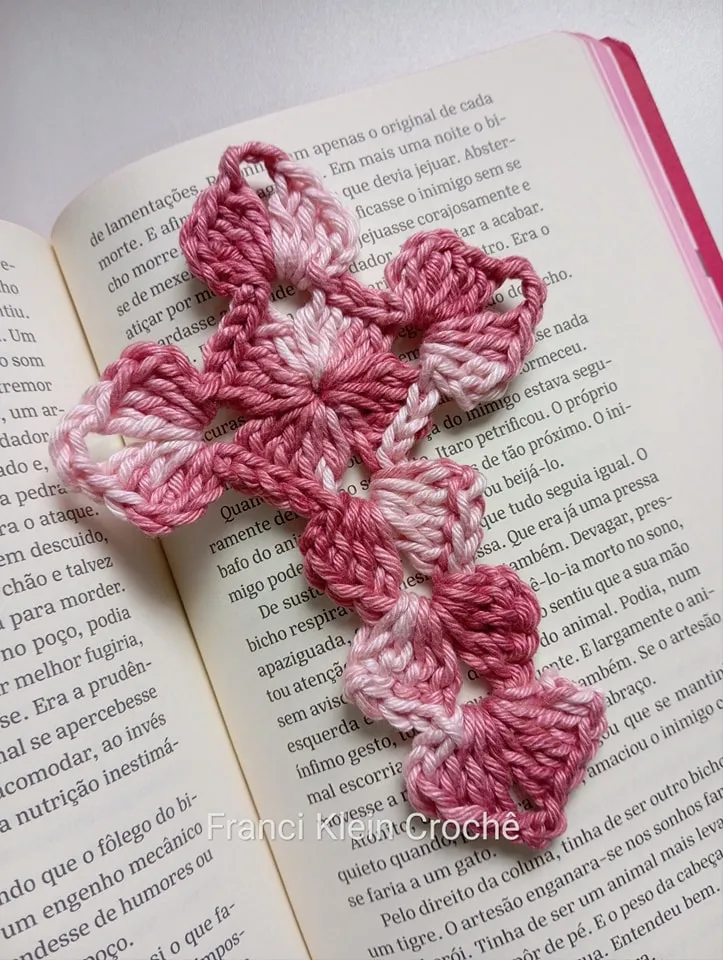
Smaller items like dishcloths, coasters, or table runners also benefit from this stitch. These projects are quick to complete and provide an excellent opportunity to experiment with color combinations.
Finally, you can combine the granny stripe stitch with other techniques. Mixing it with solid stitch panels or decorative motifs adds variety to larger projects, making them even more unique.
One useful tip for the Granny Stripe Stitch – Crochet Tutorial is to keep your tension consistent. Uneven tension can make your clusters look sloppy, so practice holding your yarn comfortably and uniformly as you work.
Switching colors neatly is another helpful trick. To avoid messy edges, change colors at the end of a row by finishing the last double crochet with the new yarn. This creates a seamless transition that keeps your stripes crisp.
Blocking your finished project can also make a big difference. Gently stretching and shaping your crochet with steam or wet blocking will even out the stitches and enhance the overall appearance.
If you’re working on a large project, consider weaving in ends as you go. Since granny stripe projects often use many colors, weaving ends after each color change prevents a daunting pile of yarn tails at the end.
Experimenting with yarn weights can also bring interesting results. Bulky yarn makes the stitch cozy and quick to finish, while lighter yarn creates delicate, airy fabrics. Both are beautiful in their own ways.
Lastly, remember that practice makes perfect. The more you work on the granny stripe stitch, the more natural the rhythm becomes, and soon you’ll be crocheting it effortlessly while enjoying its soothing repetition.
Q1: Is the Granny Stripe Stitch good for beginners?
Yes, it’s one of the easiest stitches for beginners to learn, thanks to its simple and repetitive pattern.
Q2: How much yarn do I need for a blanket using this stitch?
It depends on the blanket size and yarn weight, but generally, a throw-sized blanket will require 1,200–1,800 yards of medium-weight yarn.
Q3: Can I use leftover yarn for this stitch?
Absolutely! The stitch looks fantastic in scrap yarn projects because the stripes highlight color changes beautifully.
Q4: Does the stitch create a stretchy fabric?
The granny stripe stitch has a slight stretch but remains structured, making it ideal for blankets and accessories.
Q5: How do I prevent my edges from becoming uneven?
Be sure to place your last cluster in the correct stitch and maintain consistent tension throughout your work.
Q6: Can I use this stitch for wearable items?
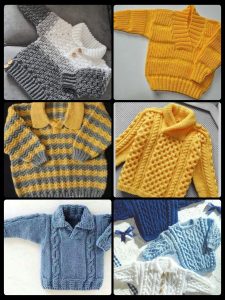
Yes, it works wonderfully for shawls, ponchos, and even lightweight sweaters, depending on your yarn choice.
The Granny Stripe Stitch – Crochet Tutorial is a classic and versatile technique that belongs in every crocheter’s skill set. It’s easy to learn, grows quickly, and allows endless room for creativity with color and texture. From blankets to accessories, this stitch offers both beauty and practicality.
If you give this tutorial a try, I’d love to hear from you! Share your experiences, thoughts, and suggestions. Your feedback not only inspires others but also builds a stronger community of crochet enthusiasts who celebrate the joy of handmade creations.


