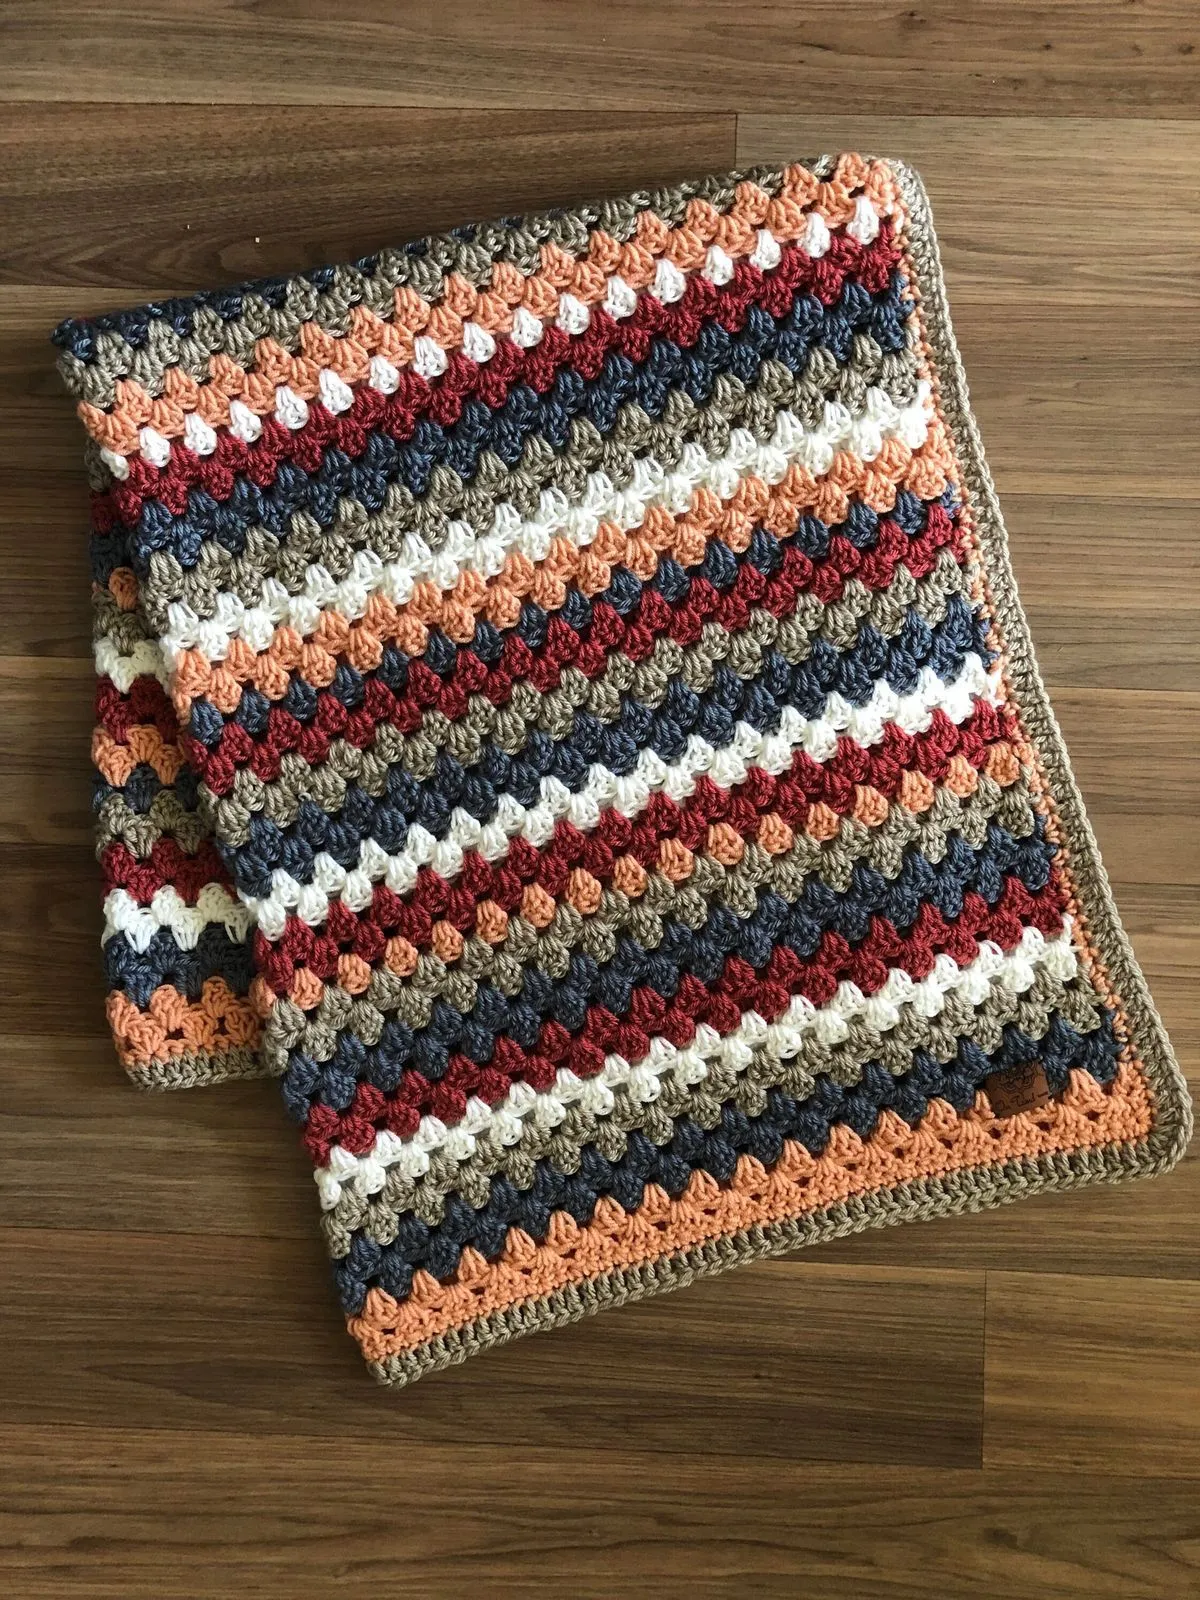
Crochet Pig In A Granny Square Blanket Pattern


Zig Zag Puff Stitch is one of the most beautiful and textured crochet stitches, perfect for adding depth and personality to your handmade projects.
Known for its raised, puffy texture and elegant wave-like pattern, this stitch brings dimension and warmth to blankets, scarves, cushion covers, and more.
Whether you’re a beginner exploring new techniques or an experienced crocheter looking for fresh inspiration, learning the Zig Zag Puff Stitch can elevate your crochet skills while giving your creations a stunning, professional look.

The charm of the Zig Zag Puff Stitch lies in its unique combination of puff stitches arranged in a zigzag formation. This pattern creates an eye-catching design that feels soft and cozy.
It’s a perfect blend of structure and texture—dense enough for warmth, yet flexible and decorative for any crochet project. The stitch also allows for wonderful color play, making it ideal for variegated or contrasting yarns.
In this complete Zig Zag Puff Stitch tutorial, you’ll learn everything from the basic materials you need to a clear, step-by-step guide on how to crochet it. You’ll also find creative ideas for incorporating this stitch into your future projects, plus answers to the most common questions about puff stitches and zigzag patterns. Get your yarn and hook ready—it’s time to master a stitch that will make your crochet work truly stand out.
Before you start, gather all your essential crochet tools. The Zig Zag Puff Stitch doesn’t require anything special, but using the right materials ensures clean, consistent results and makes your project more enjoyable.
First, choose your yarn. Medium-weight yarn (category 4) is a great choice, especially for beginners. It shows the texture of the Zig Zag Puff Stitch beautifully and is easy to handle. Cotton or acrylic yarns are recommended because they hold the puff shape nicely while being comfortable to work with. If you prefer a fluffier texture, try using soft wool blends.
Select the appropriate crochet hook for your yarn—usually between 4.0 mm and 5.5 mm. Check your yarn label for suggestions. Using a slightly larger hook can give your puffs extra volume, creating a more dramatic 3D effect.
You’ll also need scissors, a yarn needle for weaving in ends, and a ruler or stitch marker to help keep your rows even. Make sure to work in good lighting, especially since this stitch involves counting and layering multiple yarn loops.
Before starting your final piece, it’s helpful to crochet a small sample swatch. This lets you practice forming the puffs evenly and adjusting your tension. Once you’re comfortable, you’ll be ready to use the Zig Zag Puff Stitch confidently in any project you desire.
Now that you have your materials ready, let’s go through the detailed steps of making the Zig Zag Puff Stitch. Don’t worry—it might look complex at first glance, but once you understand the pattern repeat, it becomes an enjoyable rhythm of loops and texture.
To begin, make a foundation chain with a multiple of eight stitches plus an extra three for turning. This count keeps your zigzag pattern balanced across your work.
Step 1: Create the Base Row.
Work one row of single crochet stitches across your foundation chain. This gives the Zig Zag Puff Stitch a solid base and ensures your puffs stand out clearly in the next rows.
Step 2: Start the Puff Stitch.
Yarn over, insert your hook into the designated stitch, pull up a loop to the height of a double crochet. Repeat this step four times (you’ll have nine loops on your hook). Yarn over again and pull through all loops, then chain one to close the puff.
Step 3: Form the Zig Zag Shape.
Alternate between puff stitches and chain spaces, increasing and decreasing across the row to create the characteristic zigzag effect. For instance, you can skip one stitch before making the next puff to create the downward slope, and then work two puffs into the same stitch to form the upward curve.
Step 4: Repeat for Texture.
Turn your work and continue the same pattern, aligning puffs above chain spaces and vice versa. This alternating method gives your crochet piece that recognizable wave pattern.
Step 5: Adjust the Edges.
To keep your zigzag even, count your stitches regularly and make sure your edges line up neatly. You can also use a single crochet border later to frame your work beautifully.
Step 6: Practice Makes Perfect.
The more you practice, the more consistent your puff sizes and zigzag angles will become. Once you’re comfortable, try experimenting with stripes of different colors to highlight the pattern’s movement.
The Zig Zag Puff Stitch is incredibly versatile and adds elegance to a variety of crochet items. It’s not only about mastering the technique but also about using it creatively in your projects. Here are some ideas to inspire you.
Blankets made with this stitch look stunning because the zigzag motion naturally draws the eye. By alternating rows of bold and neutral colors, you can create a modern and artistic blanket design. The puff texture adds warmth and a tactile feel that’s perfect for cozy evenings.
You can also use the Zig Zag Puff Stitch for scarves and shawls. Its rich texture makes it warm without being heavy, and the pattern’s flexibility allows the fabric to drape beautifully. Try using gradient yarns to emphasize the stitch’s wave-like flow.
For home décor, this stitch is excellent for cushion covers or throws. The 3D texture stands out even in solid colors, bringing an elegant handcrafted touch to your space.
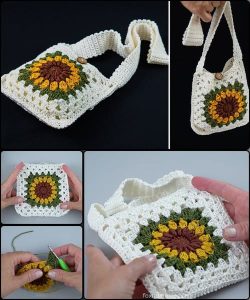
Smaller projects like headbands, coasters, or pouches are great ways to practice the stitch and use leftover yarn. The puff design gives even small accessories a lovely handmade charm.
If you enjoy garment making, try incorporating this stitch as a decorative panel in sweaters or cardigans. It adds dimension and visual interest without overwhelming the overall design.
Lastly, Zig Zag Puff Stitch makes beautiful baby blankets. Its soft, bumpy surface provides gentle texture that’s soothing for little hands and eyes. Choose pastel shades for a delicate finish.
Like any crochet stitch, mastering the Zig Zag Puff Stitch comes with practice and a few helpful tricks. Understanding these tips will make your work neater and your puffs more uniform.
Maintain consistent tension throughout your rows. Uneven tension can make the puffs look irregular or the zigzag pattern uneven. Take your time with each puff, ensuring all loops are pulled up to the same height before finishing the stitch.
Avoid over-tightening your chain spaces. The zigzag design needs flexibility, so keeping those spaces slightly loose allows the pattern to flow naturally without bunching.
If your puff stitches tend to flatten, try using a slightly larger hook or puffing five times instead of four. This small adjustment adds more body to your texture.
When changing colors between rows, always carry your yarn neatly along the side or weave in ends carefully to keep your project looking clean. Color transitions look stunning in this pattern when done smoothly.
Blocking your finished project is another great way to enhance the look of your Zig Zag Puff Stitch. Lightly dampen your piece, stretch it into shape, and let it dry flat. This will even out your zigzags and highlight the texture.
Finally, patience is key. The stitch may take a little longer than simple crochet patterns, but the result is worth it—each puff and curve contributes to a beautifully textured masterpiece.
1. Is the Zig Zag Puff Stitch beginner-friendly?
Yes! While it may look complex, the Zig Zag Puff Stitch is easy to learn once you master the puff stitch and basic counting. Beginners can practice slowly until they find their rhythm.
2. What projects work best with this stitch?
It’s perfect for blankets, scarves, cushion covers, and decorative accessories. The texture adds a luxurious look to any crochet project.
3. Can I use different yarn weights?
Absolutely. Lightweight yarn gives a delicate texture, while thicker yarn makes bold, cozy patterns. Just adjust your hook size accordingly.
4. How do I keep the edges straight in a zigzag pattern?
Counting stitches carefully and maintaining even tension helps. Adding a border afterward can also straighten any uneven edges.
5. What color combinations look best for this pattern?
Contrasting colors highlight the zigzag shape beautifully, while gradient or ombre yarns create a flowing, wave-like effect.
6. Can I combine the Zig Zag Puff Stitch with other stitches?
Yes, you can mix it with simple stitches like single or double crochet to create panels or mixed-texture projects.
The Zig Zag Puff Stitch is a wonderful addition to any crocheter’s skill set. It combines structure, softness, and visual appeal, making every project stand out with personality and warmth.
Once you master the rhythm of puffs and zigzags, you’ll find endless ways to use it—from cozy blankets to stylish accessories. We hope this tutorial helped you understand how to create and enjoy the Zig Zag Puff Stitch step by step.
Try it out in your next crochet project and see how this textured pattern transforms your work. Don’t forget to share your honest opinion and suggestions—we’d love to hear how your experience with this beautiful stitch turns out!


