
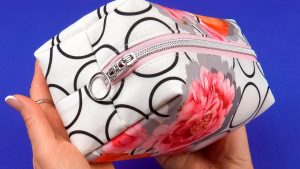
Ballerina pencil case with zipper Pattern


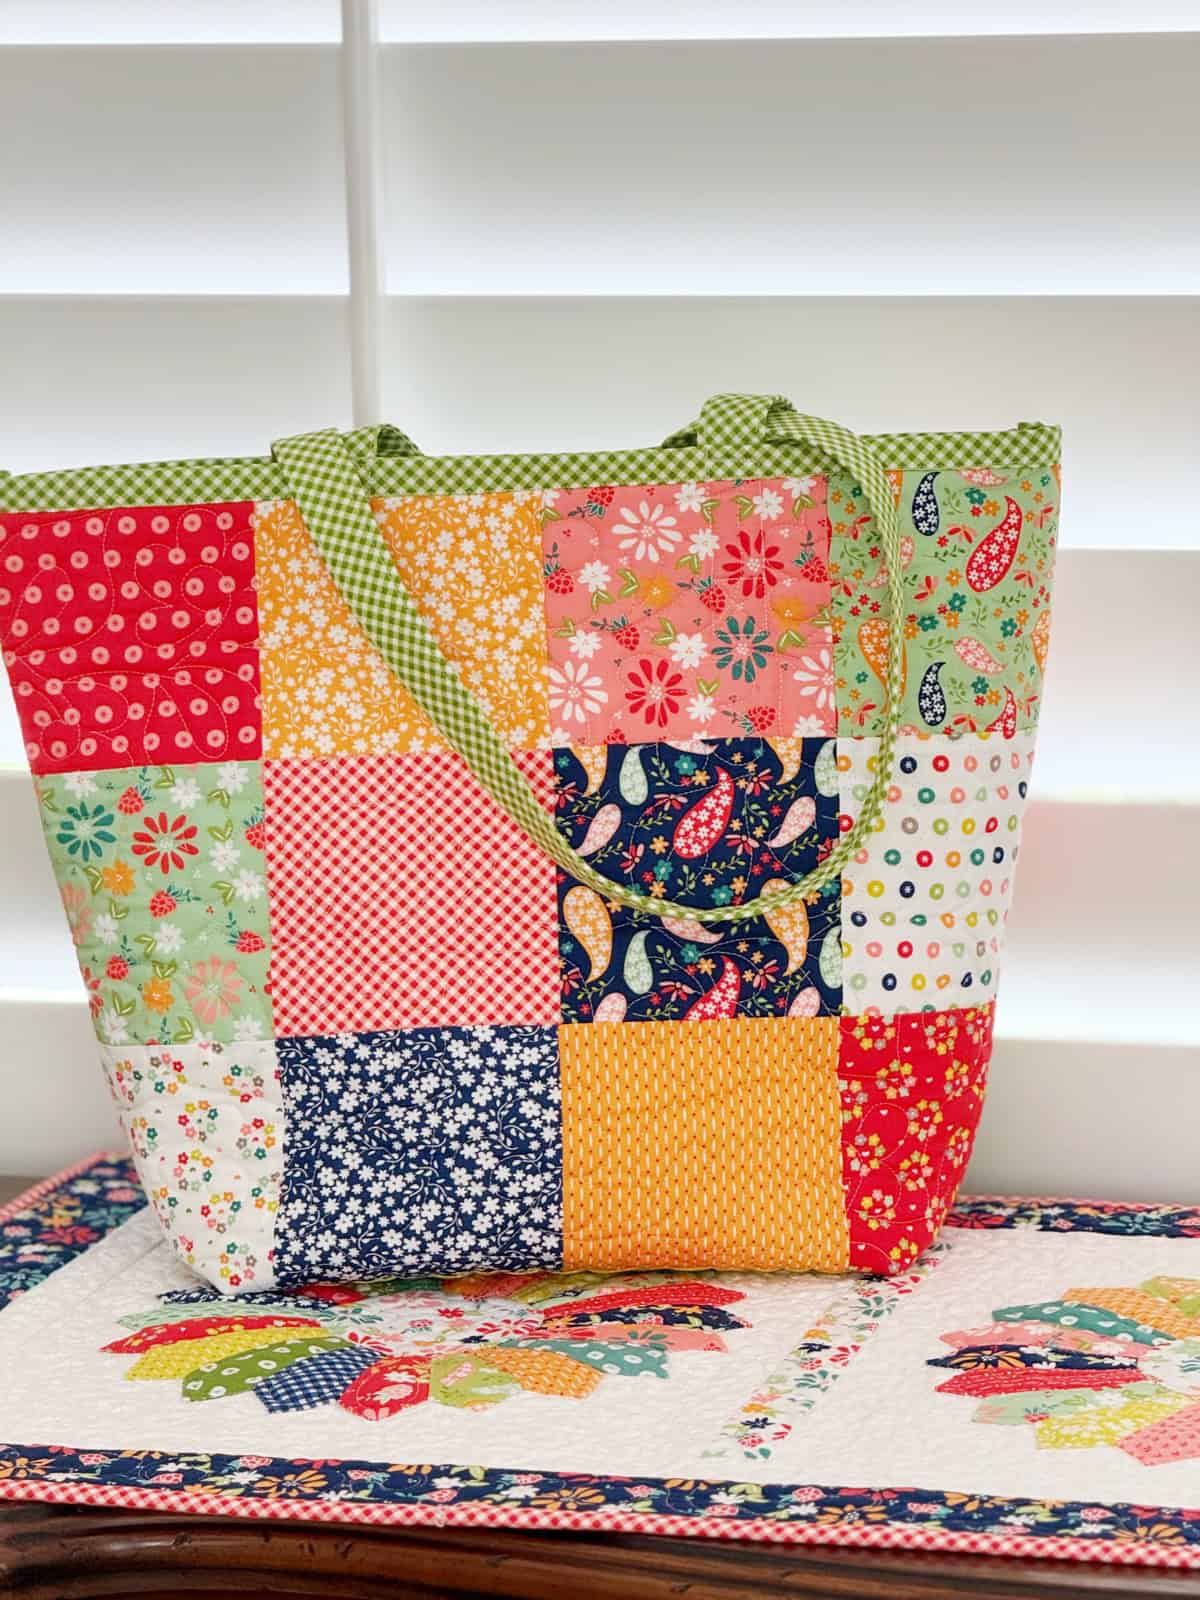
Creating an Easy Charm Pack Tote Tutorial is a wonderful way to combine creativity, practicality, and fun in a sewing project. Tote bags are versatile, stylish, and useful for carrying everyday items, and using charm packs simplifies the design process.
Charm packs are pre-cut fabric squares, usually 5×5 inches, that make planning patterns and color combinations quick and easy. This tutorial guides you step-by-step, helping both beginners and experienced sewers make a beautiful and functional tote bag.
The Easy Charm Pack Tote Tutorial is ideal for those who want to create a handmade bag without spending hours cutting fabric or worrying about matching patterns.
Charm packs allow you to mix and match colors, textures, and prints effortlessly. By following this tutorial, you’ll learn techniques for sewing, assembling, and finishing a tote bag while creating a visually appealing and durable product.
Using this method has several benefits. An Easy Charm Pack Tote is eco-friendly, reusable, and customizable. You can make it match your wardrobe, gift it to someone special, or even create multiple bags with different themes. Sewing your own tote bag also provides a sense of accomplishment, as you see a project come together from simple squares into a stylish and practical accessory.
To start the Easy Charm Pack Tote Tutorial, you will need a charm pack of coordinated fabric squares. Typically, a pack contains 42 squares, but you can adjust the number depending on the size of your tote. Choose fabrics that complement each other for a cohesive design.
You will also need basic sewing supplies, including a sewing machine, thread, scissors or rotary cutter, cutting mat, pins or clips, and a ruler. These tools ensure precise cuts, straight seams, and professional-looking results. A seam ripper may also be useful for correcting mistakes.
For the lining, select a coordinating fabric that complements the charm pack. Lightweight cotton or canvas works well and adds durability. Optional interfacing can be used to reinforce the tote, providing extra structure and stability, especially if the bag will carry heavier items.
Handles or straps can be made from fabric, webbing, or pre-purchased bag straps. Choose a length and material that suit the bag’s intended use. You may also add pockets, closures, or decorative embellishments to personalize your tote further.
Organize your workspace for efficient assembly. Keeping all fabric squares, tools, and materials within reach prevents frustration and ensures a smooth sewing experience. Preparing materials in advance helps the project progress without interruption.
Finally, plan your bag size and design layout. Arranging your charm squares in advance allows you to visualize the final tote, ensuring balanced colors, patterns, and overall composition. This planning step reduces errors and results in a harmonious design.
Begin the Easy Charm Pack Tote Tutorial by arranging your charm squares in a grid that matches your desired bag size. Common layouts include 6×7 or 5×8 grids, but you can adjust based on the charm pack and your bag dimensions. This layout helps visualize the finished bag and ensures color and pattern balance.
Next, sew the squares together row by row. Use a consistent seam allowance, typically ¼ inch, to maintain uniformity. Press seams open or to one side after each row to reduce bulk and create a neat finish. Repeating this process for all rows forms the front and back panels of the tote.
Once the panels are completed, join the rows to create the full bag body. Carefully align seams and edges to avoid mismatched squares. Pinning the panels before sewing ensures accuracy and prevents shifting during stitching. Press all seams flat for a polished appearance.
Prepare the lining fabric by cutting it to match the outer panels’ dimensions. If using interfacing, attach it to the outer panels according to manufacturer instructions. This provides stability and structure to the tote, ensuring it holds shape during use.
Assemble the tote by sewing the outer panels and lining together, right sides facing each other. Leave an opening at the top or side for turning the bag right side out. After sewing, turn the bag, press edges, and topstitch around the opening to close it neatly. This step adds strength and a professional touch.
Finally, attach the handles or straps. Position them evenly on the bag, secure with pins, and stitch firmly. Reinforce the stitching with a backstitch or box stitch for durability. Add any additional pockets, closures, or decorative elements to complete your Easy Charm Pack Tote, ready for use or gifting.
Choosing high-quality fabric ensures the bag is durable, attractive, and long-lasting. Cotton or canvas from a reputable brand helps maintain color, prevents fraying, and provides structure. Pre-wash fabrics to avoid shrinkage and color bleeding.
Consistent seam allowances are crucial for maintaining square alignment and overall bag shape. Using a ¼ inch seam throughout ensures uniformity and simplifies assembly. Pressing seams after each step improves accuracy and gives a polished finish.
Adding interfacing or stabilizers enhances bag durability. Lightweight interfacing works for everyday use, while heavier options provide support for carrying heavier items. This step ensures your tote maintains its shape even with frequent use.
Handles should be comfortable and sturdy. Consider adding padding or using wider straps for added comfort, especially for tote bags that will carry heavier loads. Reinforce attachment points to prevent tearing.
Personalization adds charm and uniqueness. Embroidery, appliqués, or decorative stitching can elevate the bag’s appearance. Using contrasting thread or adding small fabric motifs makes your tote stand out.
Regularly check alignment and measurements as you sew. Mistakes are easier to fix during the assembly process rather than after completing the bag. Careful attention to detail ensures a professional and beautiful finish.
The Easy Charm Pack Tote Tutorial allows for endless creative possibilities. You can mix and match different charm packs to create unique color combinations and patterns. This flexibility encourages creativity and experimentation with design.
Adding pockets to the interior or exterior increases functionality. Simple slip pockets, zippered compartments, or patch pockets provide organization for keys, phones, and other items. Functional features make your tote more practical for daily use.
Decorative topstitching enhances the bag’s visual appeal. Contrasting thread or decorative stitches around panels, seams, and handles adds detail and sophistication. This finishing touch elevates the handmade tote.
Experimenting with bag shapes and sizes is another creative option. Oversized totes, mini bags, or foldable shopping totes allow you to explore different design ideas while using charm packs efficiently.
Gift sets featuring multiple totes with coordinated charm packs are ideal for special occasions. Handmade tote bags are thoughtful, personalized gifts that friends and family will cherish.
Finally, combining this tote project with quilting techniques expands your crafting skills. Using quilting stitches, layered fabrics, or batting creates a padded and textured tote, adding a professional and artistic touch.
What is a charm pack?
A charm pack is a set of pre-cut fabric squares, typically 5×5 inches, that are coordinated in color and pattern, simplifying sewing projects.
Can beginners make this tote?
Yes, the tutorial is designed to be easy to follow, suitable for beginners with basic sewing skills.
What fabric is best?
Cotton or canvas fabrics are ideal for durability and ease of sewing. Pre-washing is recommended.
Do I need a lining?
Yes, a lining adds durability and a professional finish, though optional for casual or decorative totes.
Can I adjust the bag size?
Absolutely. Modify the number of charm squares and layout to create larger or smaller totes.
How do I attach handles?
Position handles evenly, pin securely, and sew with reinforced stitches for durability.
Can I add pockets?
Yes, both interior and exterior pockets can be added for functionality.
What finishing touches improve appearance?
Topstitching, decorative stitching, embroidery, and appliqués enhance both aesthetics and durability.
The Easy Charm Pack Tote Tutorial provides a simple, enjoyable, and creative way to make a stylish and practical tote bag. By using pre-cut charm squares, sewing carefully, and following step-by-step instructions, you can create a professional-looking bag that is both functional and visually appealing.
Handmade totes are perfect for everyday use, gifts, or special occasions, and they offer endless opportunities for creativity and personalization.
Share your experiences, ideas, and design variations! Your feedback inspires others and encourages the creation of beautiful, unique tote bags using charm packs.


